アルパカとヒツジを見分けられるAIアプリを作ってみた!

目的
私今はAidemyという社会人向けのAI講座を受講し、
その最終テストとしてAIアプリを作成しました!
公開用URL
https://alpaca-app.onrender.com/
(無料ドメインなので時間が経つと見られなくなるかもしれません!)
画像分析の講座を受講したため、画像判別アプリを作りました!
私は可愛い動物が好きなので、アルパカとヒツジをチョイスしました笑
この記事は、機械学習の概要を理解されている方を対象にしてます!
実行環境
以下は、私が使用した実行環境です。
Python 3.10.9
jupyter notebook 4.3.0
MacOS Ventura バージョン13.12.1
NumPy 1.23.5
データ収集
データの収集については、自力でも行うことができますが、かなり大変です
そこで、別の方の記事を参考にして、Flickrという画像サービスを利用しました。APIキーを取得し、そのキーを使ってコードを作成しました!
data_extraction.py
from flickrapi import FlickrAPI
from urllib.request import urlretrieve
from pprint import pprint
import os,time

#APIキーの保存
key = 'b6a8baf3f134256b407ef98f6c5ad654'
secret = '0a027ae3b4f6dc7e'

#サーバーのパンクやスパムと見なされる可能性があるため、1秒置く
wait_time = 1


def get_photos(animal_name):
    #保存フォルダの指定
    savedir = './' + animal_name

    #JSONデータで受け取る
    flickr = FlickrAPI(key, secret, format='parsed-json')
    result = flickr.photos.search(
        #検索キーワード
        text = animal_name,
        #取得したい数
        per_page = 500,
        #検索するデータの種類
        media = 'photos',
        #データのソート順(関連度の高い順)
        sort = 'relevance',
        #有害コンテンツの除去
        safe_search = 1,
        #取得したいオプション値
        extras = 'url_q, license'
    )
    photos = result['photos']
    print(photos['photo'])

    for i, photo in enumerate(photos['photo']):
        try:
            url_q = photo['url_q']
        except:
            print('取得に失敗しました')
            continue

        filepath = savedir + '/' + photo['id'] + '.jpg'
        if os.path.exists(filepath): continue
        urlretrieve(url_q, filepath)
        time.sleep(wait_time)


# 処理時間計測開始
start = time.time()

#調べたいキーワードをget_photosに渡す
# get_photos('alpaca')
get_photos('sheep')

print('処理時間', (time.time() - start), "秒")
この方法でアルパカとヒツジの写真を500枚ずつ簡単に入手することができました。
ただ、取得したデータの中には質の低いものも含まれていました。そのため、最終的にアルパカ画像は約400枚、ヒツジの画像も約400枚に絞りました。
また、モデル構築に利用するために、これらの画像をNumpy形式に変換しました。
convert_to_numpy.py
from PIL import Image
import os,glob
import numpy as np
from sklearn import model_selection


classes = ['alpaca', 'sheep']
num_classes = len(classes)
image_size = 64

#画像の読み込み
X = [] #画像データ
Y = [] #ラベルデータ

#それぞれのファイルごとにループさせる
for index, class_ in enumerate(classes):
    photos_dir = './' + class_

    #jpg形式の画像データを保存
    files = glob.glob(photos_dir + '/*.jpg')

    #フォルダ内の全ての画像を1つずつ渡す
    for i, file in enumerate(files):
        #画像データが1000を超えたらループを抜ける
        if i >= 1000: break
        image = Image.open(file)
        image = image.convert('RGB')
        #画像データを64 x 64に変換
        image = image.resize((image_size,image_size))
        data = np.asarray(image)
        X.append(data)
        Y.append(index)

X = np.array(X)
Y = np.array(Y)

X_train,X_test,y_train,y_test = model_selection.train_test_split(X,Y,test_size=0.3)
xy = (X_train,X_test,y_train,y_test)
np.save('./animal.npy', xy)
モデル構築・評価
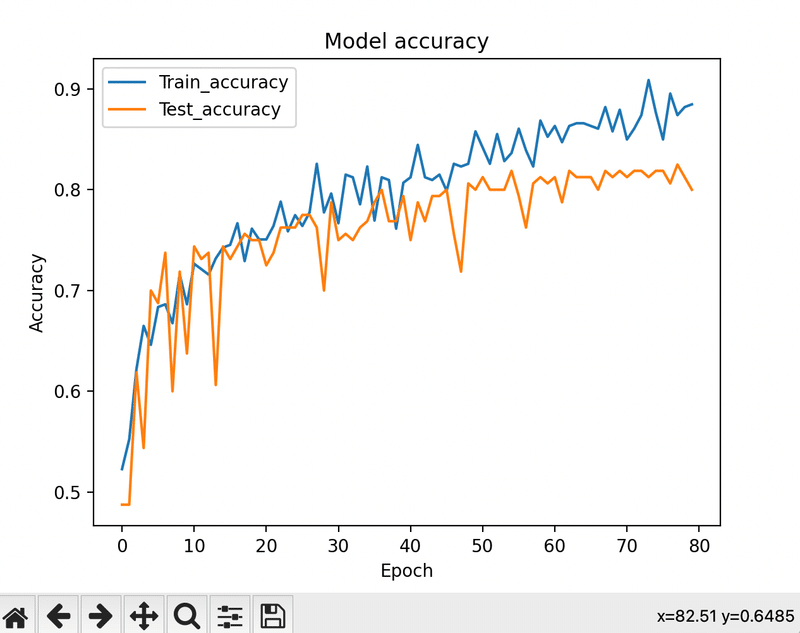
取得したデータをもとに、Aidemyで学んだ知識を活用してモデルを構築しました。ただし、最初のモデルでは精度が約60%程度でした。
そのため、Learning rate(学習スピード)の値を小さくしたり、
畳み込み層を深くするなど、数時間かけてさまざまな試行錯誤を行いました。
しかし、一番効果的だったのは、質の悪い画像を消して
元の画像の精度を向上させることでした。
最終的には、アルパカ画像246枚、ヒツジの画像287枚に絞り込みました
これにより、モデルの精度も80%まで向上させることができました!
Epoch 76/80
12/12 [==============================] - 2s 173ms/step - loss: 0.2965 - accuracy: 0.8499 - val_loss: 0.5222 - val_accuracy: 0.8188
Epoch 77/80
12/12 [==============================] - 2s 174ms/step - loss: 0.2699 - accuracy: 0.8954 - val_loss: 0.4777 - val_accuracy: 0.8062
Epoch 78/80
12/12 [==============================] - 2s 173ms/step - loss: 0.3051 - accuracy: 0.8740 - val_loss: 0.4887 - val_accuracy: 0.8250
Epoch 79/80
12/12 [==============================] - 2s 174ms/step - loss: 0.2716 - accuracy: 0.8820 - val_loss: 0.5585 - val_accuracy: 0.8125
Epoch 80/80
12/12 [==============================] - 2s 173ms/step - loss: 0.2670 - accuracy: 0.8847 - val_loss: 0.4583 - val_accuracy: 0.8000
model.py
from keras.models import Sequential
from keras.layers import Conv2D, MaxPooling2D
from keras.layers import Conv2D, MaxPooling2D, BatchNormalization
from keras.layers import Activation, Dropout, Flatten, Dense
from keras.utils import np_utils
from keras.preprocessing.image import ImageDataGenerator
import numpy as np
import keras
import matplotlib.pyplot as plt


classes = ['alpaca','sheep']
num_classes = len(classes)
image_size = 64

#メインの関数を定義する
def main():
    X_train,X_test,y_train,y_test = np.load('./animal.npy',allow_pickle=True)
    #画像ファイルの正規化
    X_train = X_train.astype('float') / 255
    X_test = X_test.astype('float') / 255
    y_train = np_utils.to_categorical(y_train,num_classes)
    y_test = np_utils.to_categorical(y_test,num_classes)

    datagen = ImageDataGenerator(
        featurewise_center=False,
        samplewise_center=False,
        featurewise_std_normalization=False,
        samplewise_std_normalization=False,
        zca_whitening=False,
        width_shift_range=0.1,
        height_shift_range=0.1,
        horizontal_flip=False,
        vertical_flip=False)

    model = model_train(X_train,y_train,X_test,y_test,datagen)
    model_eval(model,X_test,y_test)

def model_train(X_train,y_train,X_test,y_test,datagen):
    model = Sequential()
    model.add(Conv2D(32,(3,3), padding='same',input_shape=X_train.shape[1:]))
    model.add(Activation('relu'))
    model.add(Conv2D(32,(3,3)))
    model.add(Activation('relu'))
    model.add(MaxPooling2D(pool_size=(2,2)))
    model.add(Dropout(0.25))

    model.add(Conv2D(64,(3,3),padding='same'))
    model.add(Activation('relu'))
    model.add(Conv2D(64,(3,3)))
    model.add(Activation('relu'))
    model.add(MaxPooling2D(pool_size=(2,2)))
    model.add(Dropout(0.25))

    model.add(Flatten())
    model.add(Dense(512))
    model.add(Activation('relu'))
    model.add(Dropout(0.5))
    model.add(Dense(2))
    model.add(Activation('softmax'))

    #最適化の手法
    opt = keras.optimizers.RMSprop(lr=0.0001,decay=1e-6)

    model.compile(loss='categorical_crossentropy', optimizer=opt, metrics=['accuracy'])

    # historyに['val_loss', 'val_acc', 'loss', 'acc']を保存
    history = model.fit(datagen.flow(X_train, y_train, batch_size=32),
                        epochs=80,
                        validation_data=(X_test, y_test))

    # モデルの保存
    model.save('./animal_cnn.h5')

    # 学習曲線の可視化
    graph_general(history)

    return model


def model_eval(model,X_test,y_test):
    scores = model.evaluate(X_test,y_test,verbose=1)
    print('Test Loss: ', scores[0])
    print('Test Accuracy: ', scores[1])


def graph_general(history):
    # Plot training & validation accuracy values
    plt.plot(history.history['accuracy'])
    plt.plot(history.history['val_accuracy'])
    plt.title('Model accuracy')
    plt.ylabel('Accuracy')
    plt.xlabel('Epoch')
    plt.legend(['Train_accuracy', 'Test_accuracy'], loc='upper left')
    plt.show()

    # Plot training & validation loss values
    plt.plot(history.history['loss'])
    plt.plot(history.history['val_loss'])
    plt.title('Model loss')
    plt.ylabel('Loss')
    plt.xlabel('Epoch')
    plt.legend(['Train_loss', 'Test_loss'], loc='upper left')
    plt.show()

if __name__ == '__main__':
    main()
フロント作成
モデルを作成できたのは次はフロントを作成しました!
フロントエンドの作成には、PythonのフレームワークであるFlaskを利用しました。
元々受講した時に使っていたFlaskのデザインが少し簡素すぎました
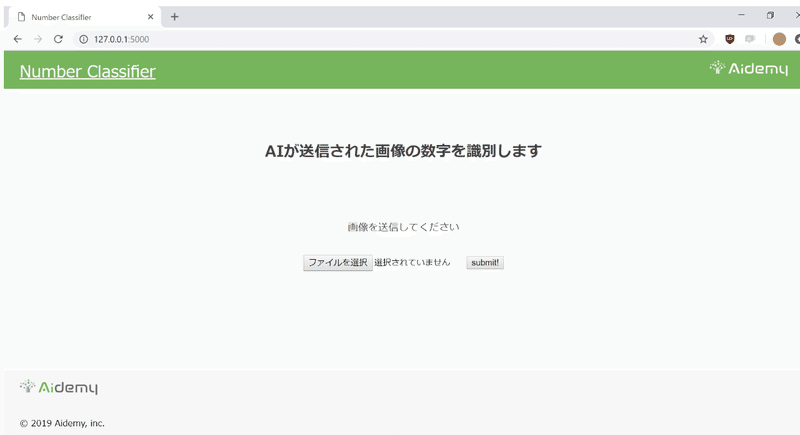
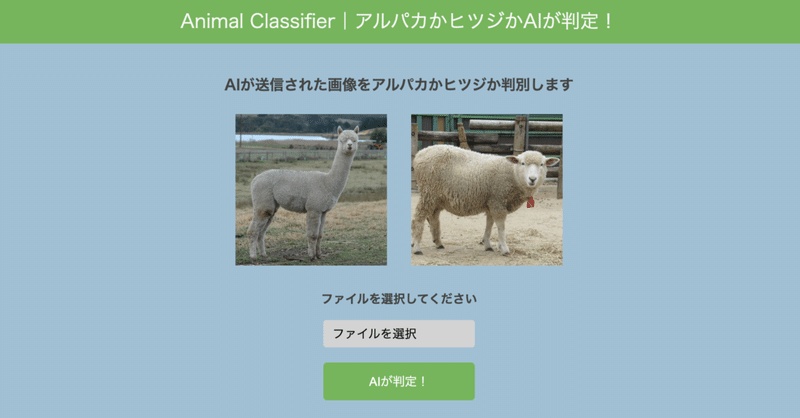
そこで、デザインについては、見やすさを重視してデザインを変えて、スマホでもみられるようにレスポンシブ対応にもしました
親近感を持ってもらえるように、ヒツジやアルパカの画像も掲載しました。実際に試してみると、期待通りに動作することが確認できました!
ソースコードはこちら
index.html
<!DOCTYPE html>
<html lang="ja">
<head>
    <meta charset="UTF-8">
    <meta name="viewport" content="width=device-width, initial-scale=1.0">
    <meta http-equiv="X-UA-Compatible" content="ie=edge">
    <link rel="icon" type="img/x-icon" href="../static/favicon.jpeg">
    <title>Animal Classifier</title>
    <link rel="stylesheet" href="{{ url_for('static', filename='stylesheet.css') }}">
    <style>
        .file-selection {
            display: flex;
            align-items: center;
            margin-bottom: 10px;
        }

        .selected-file {
            margin-left: 10px;
        }
    </style>
</head>
<body>
    <header>
        <p class="header-title">Animal Classifier|アルパカかヒツジかAIが判定!</p>
    </header>

    <div class="wrapper">
        <h2 class="wrapper-title">AIが送信された画像をアルパカかヒツジか判別します</h2>
        <div class="animal-images">
            <img class="animal-img" src="{{ url_for('static', filename='alpaca_background.jpeg') }}" alt="アルパカの画像">
            <img class="animal-img" src="{{ url_for('static', filename='sheep_background.jpeg') }}" alt="ヒツジの画像">
        </div>
        <p class="wrapper-comment">ファイルを選択してください</p>
        <form method="POST" enctype="multipart/form-data">
            <label for="file-upload" class="custom-file-upload">
                ファイルを選択
            </label>
            <input id="file-upload" type="file" name="file" style="display:none;" onchange="showFileName(this)">
            <div class="selected-file" id="selected-file"></div>

            <input id="file-upload" type="file" name="file" style="display:none;">
            <input class="btn" value="AIが判定!" type="submit">
        </form>
        <div class="answer">{% if answer %}{{answer}}{% endif %}</div>
        <div class="up_img">
            {% if filepath %}
            <img class="filepath" src="{{ url_for('static', filename=filepath) }}" height="200">
            {% endif %}
        </div>
    </div>

    <footer>
        <small class="last-text">『アルパカとヒツジの判別器をWebアプリにしてみた!』より</small>
    </footer>

    <script>
        function showFileName(input) {
            const file = input.files[0];
            const fileName = file.name;
            document.getElementById('selected-file').textContent = fileName;
        }
    </script>
</body>
</html>
stylesheet.css
body, html {
    font-family: 'Montserrat', sans-serif;
    margin: 0;
    padding: 0;
    background-color: #a1c0d4; /* Lightened the color */
    box-sizing: border-box;
    display: flex;
    flex-direction: column;
    min-height: 100vh;
}

header, footer {
    background-color: #76B55B; /* Made footer color match header color */
    height: 60px;
    display: flex;
    align-items: center;
    justify-content: center;
}

.header-title {
    color: #F7F7F7;
    font-size: 25px;
    text-align: center;
    width: 90%;
}

.wrapper {
    display: flex;
    flex-direction: column;
    align-items: center;
    padding: 2rem;
    flex: 1;
}

.wrapper-title {
    color: #444444;
    margin: 0.5rem 0; /* Reduced the top margin */
    text-align: center;
    font-weight: bold;
    font-size: 1.2rem;
}

.wrapper-comment {
    color: #444444;
    margin: 1rem 0;
    text-align: center;
    font-weight: bold;
}

.animal-images {
    display: flex;
    justify-content: center;
    margin: 1rem 0;
}

.animal-img {
    width: 200px;
    height: 200px;
    margin: 0 1rem;
    object-fit: cover;
}

.custom-file-upload {
    display: block; /* Made the button display as block */
    padding: 6px 12px;
    cursor: pointer;
    background-color: #d3d3d3; /* Made color light grey */
    color: black; /* Changed color to black */
    border: none;
    border-radius: 4px;
    white-space: nowrap;
}

.btn {
    display: block; /* Made the button display as block */
    width: 200px;
    height: 50px;
    margin: 20px auto;
    background-color: #76B55B;
    color: white;
    border-radius: 5px;
    border: none;
    cursor: pointer;
    font-size: 1rem;
}

.answer {
    color: #e35f8e;
    margin: 20px auto;
    text-align: center;
    font-weight: bold;
    font-size: 1.2rem;
}

.filepath {
    margin: 0 auto;
    display: block;
    width: 80%;
    max-height: 400px;
    object-fit: cover;
}

footer {
    height: 80px;
    display: flex;
    align-items: center;
    justify-content: center;
}

.last-text {
    margin: 0 auto;
    display: block;
    width: fit-content;
}
デプロイ
デプロイ向けに変更した最終ディレクトリがこちら
├── README.md
├── animal_cnn.h5
├── main.py
├── requirements.txt
├── static
│ ├── alpaca_background.jpeg
│ ├── sheep_background.jpeg
│ ├── stylesheet.css
│ └── uploads
└── templates
└── index.html
メインのプログラムである「main.py」には、ユーザーが画像を送信したり、AIが判別した結果を表示するなど、Webアプリのメイン機能を実装しました。
main.py
import os
from flask import Flask, request, redirect, render_template, flash
from werkzeug.utils import secure_filename
from tensorflow.keras.models import Sequential, load_model
from tensorflow.keras.preprocessing import image

import numpy as np

#分類したいクラスと学習に用いた画像のサイズ
classes = ['アルパカ', 'ヒツジ']
img_size = 64

#アップロードされた画像を保存するフォルダ名とアップロードを許可する拡張子
UPLOAD_FOLDER = "static/uploads"
ALLOWED_EXTENSIONS = set(['png', 'jpg', 'jpeg', 'gif'])

#Flaskクラスのインスタンスの作成
app = Flask(__name__)

#アップロードされたファイルの拡張子のチェックをする関数
def allowed_file(filename):
    return '.' in filename and filename.rsplit('.', 1)[1].lower() in ALLOWED_EXTENSIONS

#学習済みモデルをロード
model = load_model('./animal_cnn.h5')

@app.route('/', methods=['GET', 'POST'])
def upload_file():
    if request.method == 'POST':
        if 'file' not in request.files:
            flash('ファイルがありません')
            return redirect(request.url)

        file = request.files['file']
        if file.filename == '':
            flash('ファイルがありません')
            return redirect(request.url)

        if file and allowed_file(file.filename):
            print('ファイルが選択されました')  # ファイルが選択されたことを確認
            filename = secure_filename(file.filename)
            file.save(os.path.join(UPLOAD_FOLDER, filename))
            filepath = os.path.join("uploads", filename)

            # 受け取った画像を読み込み、np形式に変換
            img = image.load_img('static/' + filepath, grayscale=True, target_size=(img_size,img_size))
            img = img.convert('RGB')
            # 画像データを64 x 64に変換
            img = img.resize((img_size, img_size))
            # 画像データをnumpy配列に変換
            img = np.asarray(img)
            img = img / 255.0
            result = model.predict(np.array([img]))
            predicted = result.argmax()
            pred_answer = "この動物は " + classes[predicted] + " です"

            print('レンダリングされる前の処理')  # レンダリングされる前の処理が実行されることを確認
            return render_template("index.html", answer=pred_answer, filepath=filepath)

    return render_template("index.html", answer="")


if __name__ == "__main__":
    app.run()
ユーザーがアップロードした画像は「uploads」フォルダに保存されます。また、「templates」フォルダには「index.html」ファイルを、"static"フォルダには「stylesheet.css」ファイルを配置しました。これらは、Webアプリの外観を作るために使用しました。
また、デプロイのためにmain.pyの末尾
if __name__ == "__main__":
    app.run()
の部分を
if __name__ == "__main__":
    port = int(os.environ.get('PORT', 8080))
    app.run(host ='0.0.0.0',port = port)
に変更しました!
デプロイには、Renderというサービスを利用しました。
Renderは、簡単にアプリをデプロイすることができる便利なサービスです。
アプリのデプロイに関する詳細な手順は変更になることがありますので、
公式のドキュメントを参考にしてください。
大まかな流れはこちら!
GitHubのリポジトリ作成
→RenderとGitHubを連携させる
→リポジトリを連携
→GitHubでadd+commit
上記の流れでデプロイを無事完了することができました!
最終の公開URLはこちら↓
https://alpaca-app.onrender.com/
最終テスト
最後に確認のために3回テストを行いました!
○テスト1 明らかなアルパカ写真
最初は正解して欲しいので、誰がどうみてもアルパカの写真を選んでみました!笑
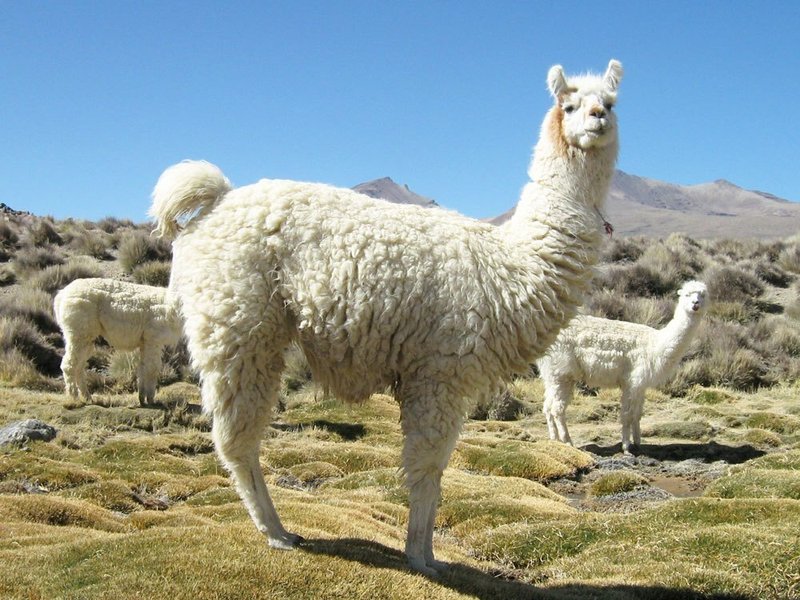
結果はこちら!
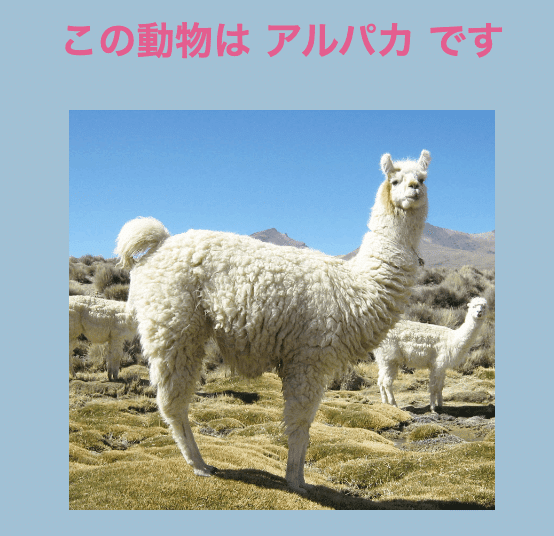
なんとか第一関門をクリアすることができました!
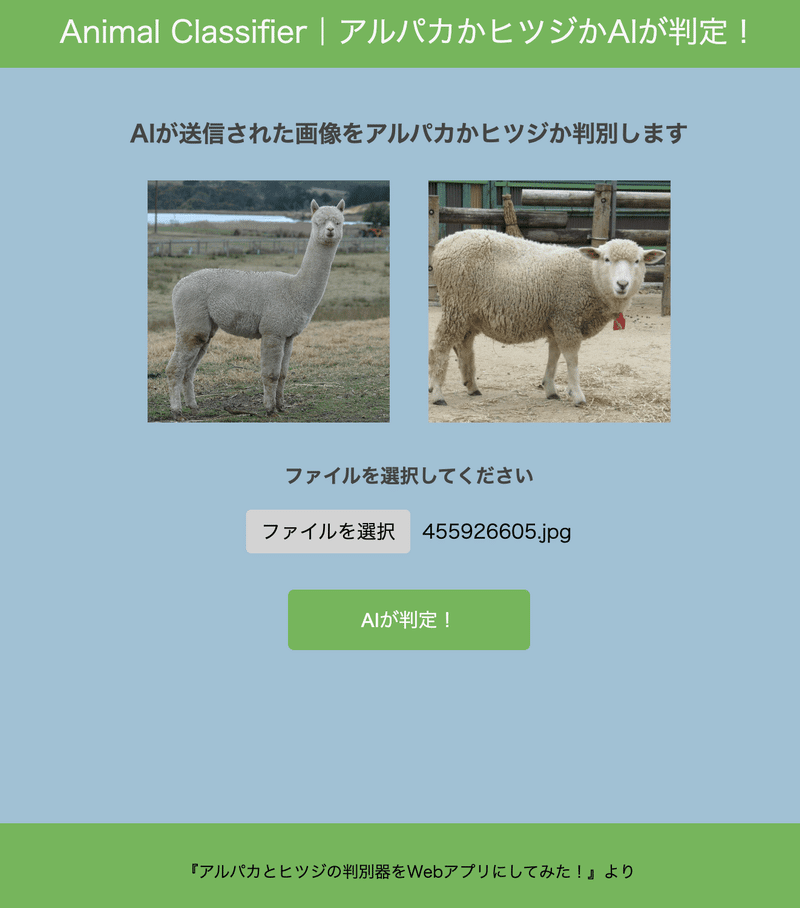
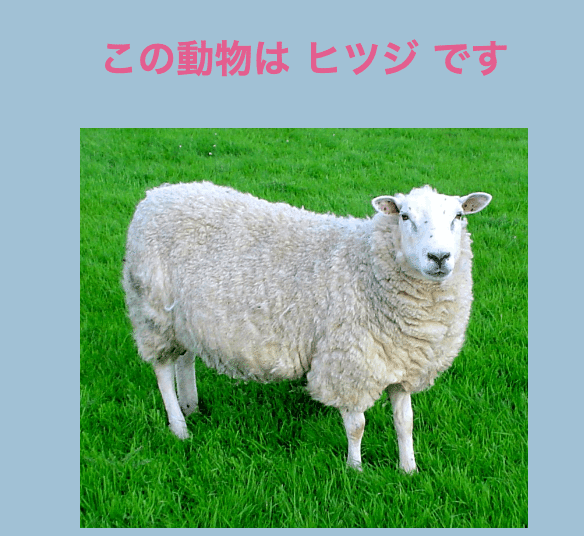
○テスト2 明らかなヒツジの写真
次はヒツジの写真!
これは首も短いですし、明らかにヒツジなので大丈夫なはず!
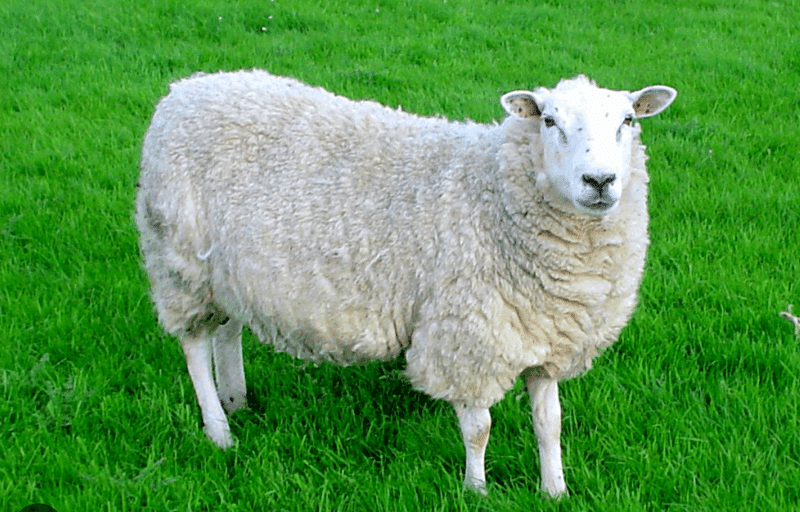
結果は、、、正解!
なんとか2問連続正解を勝ち取ることができました!(一安心)
○テスト3 微妙な写真
最後は一見どちらか分からない、ヒツジの顔のドアップ写真
よく見ると耳の形とかが違うのですが、AIには難しいかもしれません

結果は、、、、
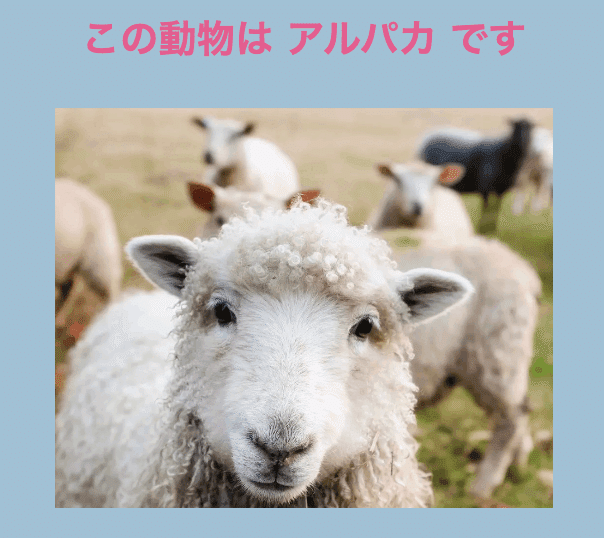
やはり、アルパカと出てしまいました、残念(涙)
微妙な写真を区別するのは私の作ったモデルでは難しいのかもしれません><
まとめ
今回、私は初めて機械学習を使ったWebアプリを作成しました。この経験を通じて、機械学習の仕組みを理解する上で多くの学びを得ることができました。
特に、モデルの精度を上げることの難しさを体感できました!
ハイパーパラメータの調整や画像の質の向上など、さまざまな試行錯誤を行わなければならなかったです。
最終テストは全問正解とまではいかなかったので、
次はもう少しモデルを工夫して全問正解を目指したいと思います!
最後まで読んでいただいてありがとうございます^^