【Objective-C】UIScrollView実装について(押下すれば新しいアイコンが増えて、自動でcontentSizeが再計算されて伸びていく)【Xcode10.1対応】

こういう人に向けて発信しています。
・UIScrollViewの実装についてサンプルコードを見たい人
・追加されたときにどういう処理をすればいいか知りたい人
・Objective-C 初心者〜中級者
UIScrollView
(1)frame.size.width (2)contentSizeについて
よく言われる事ですが、
UIScrollViewの画面上の位置などはframe
UIScrollViewの内部の描画領域はcontentSizeです。
例えば話で、窓と窓からの景色が挙げられます。
窓をどこに設置するかがframe
窓の中身(景色)を設定するのがcontentSizeです。
上記を理解した上で、コーディングを見て下さい。
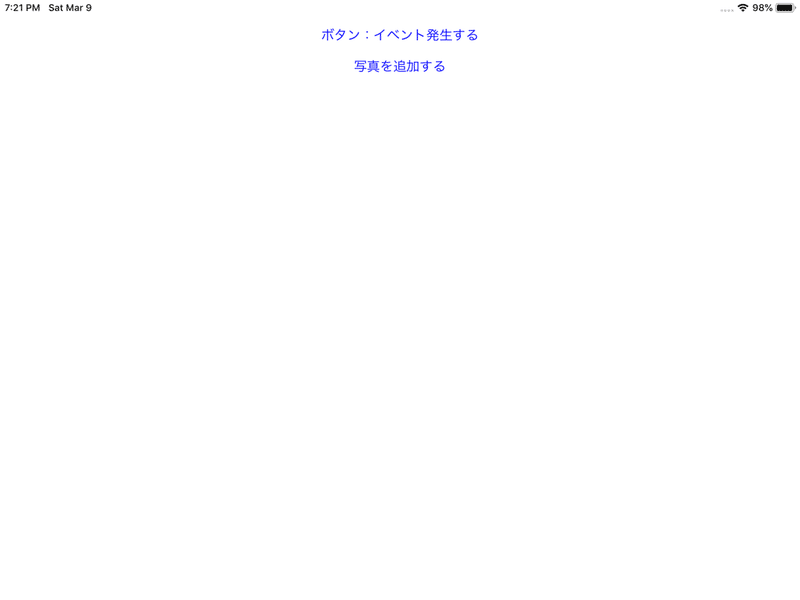
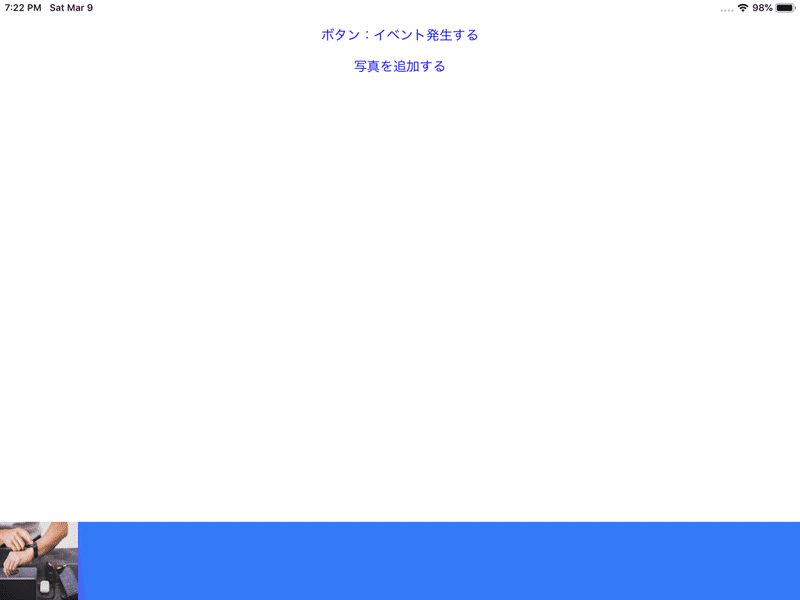
アプリのイメージ

使うクラスについて(今回はxibファイルは不使用)
(1)ViewController.h
(2)ViewController.m
(3)TableViewController.h
(4)TableViewController.m
※画像を1点使用しております。
Finder上からドラック&ドロップで追加できます。
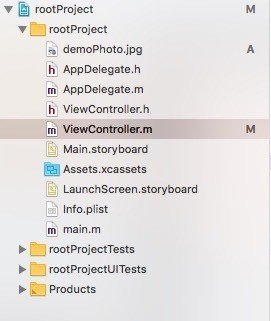
コード内のdemePhoto.jpgは使用ファイルで置き換えてご使用下さい。
ViewController.h
#import <UIKit/UIKit.h>

@interface ViewController : UIViewController

@end
ViewController.m
#import "ViewController.h"
#define startBetWeenPhoto 5.0f
#define betWeenPhoto 5.0f
#define endBetWeenPhoto 5.0f
#define photoSize 100.0f
#define RGB(r, g, b) [UIColor colorWithRed:(r)/255.0 green:(g)/255.0 blue:(b)/255.0 alpha:1]
#define RGBA(r, g, b, a)    [UIColor colorWithRed:(r)/255.0 green:(g)/255.0 blue:(b)/255.0 alpha:(a)]

@interface ViewController ()

@end

@implementation ViewController{
    UIButton *btn;
    UIButton *objectAddBtn;
    UIScrollView *scrollView;
    NSMutableArray *photoArray;
}

- (void)viewDidLoad {
    [super viewDidLoad];
    [self initButton];

    // Do any additional setup after loading the view, typically from a nib.
}

-(void)initButton{
    btn = [[UIButton alloc]initWithFrame:CGRectMake(0, 40.0f,self.view.bounds.size.width, 10.0f)];
    [btn setTitle:@"ボタン:イベント発生する" forState:UIControlStateNormal];
    [btn setTitleColor:[UIColor blueColor] forState:UIControlStateNormal]; //有効時
    [btn addTarget:self action:@selector(tappedButton:)
  forControlEvents:UIControlEventTouchDown];
    [self.view addSubview:btn];

    objectAddBtn = [[UIButton alloc]initWithFrame:CGRectMake(0, 80.0f,self.view.bounds.size.width, 10.0f)];
    [objectAddBtn setTitle:@"写真を追加する" forState:UIControlStateNormal];
    [objectAddBtn setTitleColor:[UIColor blueColor] forState:UIControlStateNormal]; //有効時
    [objectAddBtn addTarget:self action:@selector(tappedobjectAddBtn:)
           forControlEvents:UIControlEventTouchDown];
    [self.view addSubview:objectAddBtn];
}

-(void)tappedButton:(UIButton*)button{
    [self initScrollView];
}

-(void)tappedobjectAddBtn:(UIButton*)button{
    [photoArray addObject:@"demoPhoto.jpg"];
    [self initImageView];
}

//scrollViewの中の描画サイズを決める。
//scrollView.frame =窓、scrollView.contentSize=窓の景色 みたいなイメージ
-(void)initScrollView{
    CGRect rect = self.view.frame;
    scrollView = [[UIScrollView alloc]initWithFrame:CGRectMake(0, rect.size.height-photoSize, rect.size.width, photoSize)];
    scrollView.backgroundColor = RGB(51, 121, 246);
    scrollView.bounces = NO;
    [self initImageView];
    [self.view addSubview:scrollView];
}

-(void)initImageView{

    //毎回addSubViewしたButtonを削除している
    for(UIView *view in [scrollView subviews]){
        [view removeFromSuperview];
    }


    if(!photoArray){
        photoArray =[[NSMutableArray alloc]init];
        [photoArray addObject:@"demoPhoto.jpg"];
    }

    int count = 0;
    for(NSString *str in photoArray){
        UIImage *img = [UIImage imageNamed:str];  // ボタンにする画像を生成する
        UIButton *btn = [[UIButton alloc]
                         initWithFrame:CGRectMake(startBetWeenPhoto + photoSize * count + betWeenPhoto*(count-1), 0, photoSize, photoSize)];
        [btn setBackgroundImage:img forState:UIControlStateNormal];
        [scrollView addSubview:btn];
        count += 1;
    }
    scrollView.contentSize = CGSizeMake([self contentSizeCalculation], scrollView.frame.size.height);

}

- (int)contentSizeCalculation{
    int result = 0;
    result = startBetWeenPhoto + photoArray.count * photoSize + betWeenPhoto *(photoArray.count-2) ;
    return result;
}
@end
この記事が気に入ったらサポートをしてみませんか?