Android_画像編集library使いました。

参考(SimpleCropView)
動機
写真を載せる時、好きな規格に合うサイズの写真を載せる必要があります。 この時映像編集が必要で探していたところ良いライブラリがあったので適用してみました。
(README.mdで説明が行き届いていたので、そのまま真似してみました。)
始めましょう
1. app/build.gradle.ktsに
implementation("com.isseiaoki:simplecropview:1.1.8")2. AndroidManifest.xmlに
   <uses-permission android:name="android.permission.READ_EXTERNAL_STORAGE"/>
   <uses-permission android:name="android.permission.WRITE_EXTERNAL_STORAGE"/>
3. CropFragmentを作ります。
class CropFragment:Fragment(R.layout.crop_fragment){
   override fun onViewCreated(view: View, savedInstanceState: Bundle?) {
       super.onViewCreated(view, savedInstanceState)
            ...
       }
   }
}
4. R.layout.crop_fragmentを作ります。
<?xml version="1.0" encoding="utf-8"?>
<androidx.constraintlayout.widget.ConstraintLayout
   xmlns:android="http://schemas.android.com/apk/res/android"
   xmlns:app="http://schemas.android.com/apk/res-auto"
   android:layout_width="match_parent"
   android:layout_height="match_parent"
   >

   <com.isseiaoki.simplecropview.CropImageView
       android:id="@+id/cropImageView"
       xmlns:custom="http://schemas.android.com/apk/res-auto"
       android:layout_width="match_parent"
       android:layout_height="wrap_content"
       android:layout_weight="1"
       android:paddingBottom="16dp"
       android:paddingLeft="16dp"
       android:paddingRight="16dp"
       android:paddingTop="16dp"
       app:layout_constraintBottom_toBottomOf="parent"
       app:layout_constraintTop_toBottomOf="@id/croppedImageView"
       custom:scv_background_color="@color/windowBackground"
       custom:scv_crop_mode="fit_image"
       custom:scv_frame_color="@color/colorAccent"
       custom:scv_frame_stroke_weight="1dp"
       custom:scv_guide_color="@color/colorAccent"
       custom:scv_guide_show_mode="show_always"
       custom:scv_guide_stroke_weight="1dp"
       custom:scv_handle_color="@color/colorAccent"
       custom:scv_handle_show_mode="show_always"
       custom:scv_handle_size="14dp"
       custom:scv_min_frame_size="50dp"
       custom:scv_overlay_color="@color/overlay"
       custom:scv_touch_padding="8dp"
       />

   <Button
       android:id="@+id/crop_button"
       android:layout_width="wrap_content"
       android:layout_height="wrap_content"
       android:layout_gravity="center"
       android:layout_margin="16dp"
       android:text="CROP"
       app:layout_constraintBottom_toBottomOf="parent"
       app:layout_constraintEnd_toEndOf="parent"
       app:layout_constraintStart_toStartOf="parent"

       />

   <ImageView
       android:id="@+id/croppedImageView"
       android:layout_width="wrap_content"
       android:layout_height="wrap_content"
       android:layout_gravity="center"
       android:layout_margin="16dp"
       app:layout_constraintEnd_toEndOf="parent"
       app:layout_constraintStart_toStartOf="parent"
       app:layout_constraintTop_toTopOf="parent"
       />
</androidx.constraintlayout.widget.ConstraintLayout>
画面の真ん中にイメージがあって 下にcropボタンがあり、 画像を切った後、ボタンを押すと、上に切った画像が表示されるレイアウトを作りました。
       custom:scv_background_color="@color/windowBackground"
       custom:scv_crop_mode="fit_image"
       custom:scv_frame_color="@color/colorAccent"
       custom:scv_frame_stroke_weight="1dp"
       custom:scv_guide_color="@color/colorAccent"
       custom:scv_guide_show_mode="show_always"
       custom:scv_guide_stroke_weight="1dp"
       custom:scv_handle_color="@color/colorAccent"
       custom:scv_handle_show_mode="show_always"
       custom:scv_handle_size="14dp"
       custom:scv_min_frame_size="50dp"
       custom:scv_overlay_color="@color/overlay"
       custom:scv_touch_padding="8dp"
ここが、crop関連画面の設定です。
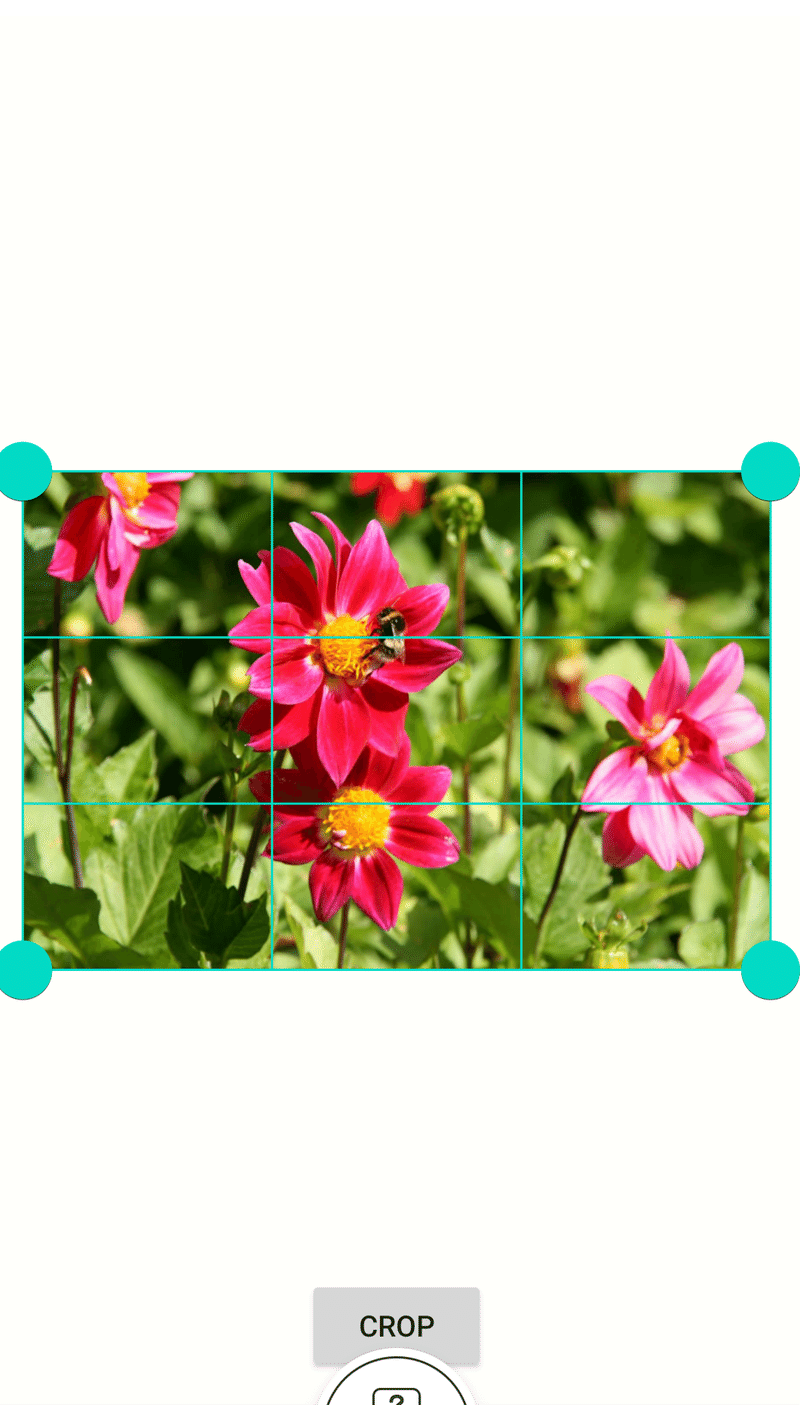
画面はこのように見えます。
5. CropFragmentのonViewCreatedに
 override fun onViewCreated(view: View, savedInstanceState: Bundle?) {
       super.onViewCreated(view, savedInstanceState)
       // ダミー画像を設定
       cropImageView.imageBitmap = BitmapFactory.decodeResource(resources, R.drawable.dummy_img)

       crop_button.setOnClickListener {
           croppedImageView.setImageBitmap(cropImageView.croppedBitmap)
       }
   }
ボタンをクリックすると、imageView.setImageBitmapを利用してここに画像を入れたら終わり。
6. 結果

7. 感傷
画像編集の検討のためにライブラリを使ったのですが、結局使わなかったのでここまで勉強しました。
次回、時間があるときに回転、画像サイズ設定などの機能も実装します。
この記事が気に入ったらサポートをしてみませんか?