StreamDiffusionをWindowsで試してみた

StreamDiffusionが2023年12月21日にリリースされたので試してみました。
大変お待たせしました!本日arXivにて公開された私達の論文「StreamDiffusion」について
— あき先生 / Aki (@cumulo_autumn) December 21, 2023
GitHubリポジトリの方も公開しました!100fps以上出すことも可能です!
詳しくは論文、リポジトリのREADMEをご確認ください!#StreamDiffusion
論文:https://t.co/4zQKFyPKgj
GitHub:https://t.co/U1ufvRR9cq https://t.co/5hO1UXT4Ya
検証環境
Windows 10 Pro
RTX 3080
セットアップ
Git cloneをします。
git clone https://github.com/cumulo-autumn/StreamDiffusion.git
cd .\StreamDiffusion\
次に公式の手順に従ってインストールを行います。今回はanacondaを使いました。
https://github.com/cumulo-autumn/StreamDiffusion/blob/main/README-ja.md
conda create -n streamdiffusion python=3.10
conda activate streamdiffusion
あらかじめanacondaのインストールが済んでないとエラーになるので注意してください。
次にPyTorchをインストールするのですが、cudaのバージョンによってインストールするものが違うようなので、cudaのバージョンを確認します。
nvcc -V
nvcc: NVIDIA (R) Cuda compiler driver
Copyright (c) 2005-2023 NVIDIA Corporation
Built on Mon_Apr__3_17:36:15_Pacific_Daylight_Time_2023
Cuda compilation tools, release 12.1, V12.1.105
Build cuda_12.1.r12.1/compiler.32688072_0
12.1だったので、下記のコマンドでpip install
pip3 install torch==2.1.0 torchvision==0.16.0 xformers --index-url https://download.pytorch.org/whl/cu121 あとは公式の手順のStep3: StreamDiffusionのインストールを参考に
https://github.com/cumulo-autumn/StreamDiffusion/blob/main/README-ja.md
Examplesを試してみる
screen/
https://github.com/cumulo-autumn/StreamDiffusion/blob/main/examples/README-ja.md
スクリーンキャプチャをリアルタイムで img2imgするやつを試してみます。
依存関係のインストール
pip install -r screen/requirements.txt起動してみる
python screen/main.py動いた!
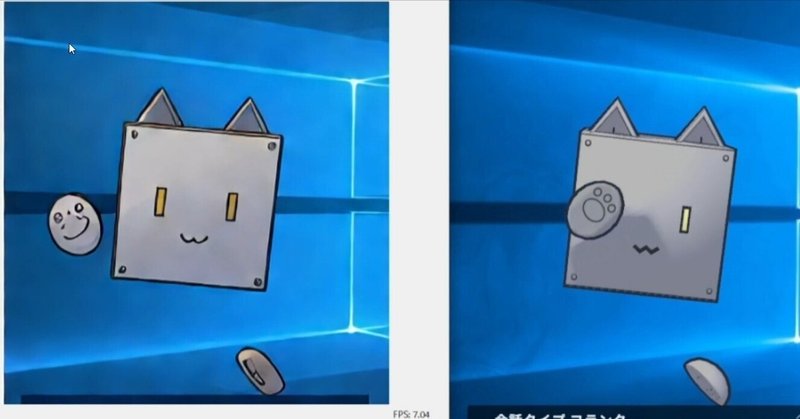
WindowsでStreamDiffusion動いた。RTX3080で7fpsぐらい #StreamDiffusion pic.twitter.com/MvZEsWj01X
— よしかい (@yoshikai_man) December 22, 2023
勝手に眼鏡っ子になってワロタ #StreamDiffusion pic.twitter.com/QI4NdaHIlv
— よしかい (@yoshikai_man) December 22, 2023
キャプチャーしてる顔が小さかったりすると生成が🐶になっちゃった。あとRTX3080だと動きのあるのはきつそう・・・ #StreamDiffusion pic.twitter.com/eYPPBhhCJx
— よしかい (@yoshikai_man) December 22, 2023
下記の記事を参考にTensorRTを有効にするとフレームレートが倍ぐらいでました!
python screen/main.py --acceleration tensorrtTensorRT有効にしたら2倍ぐらい早くなって14FPSでてる! #StreamDiffusion pic.twitter.com/YUIxBoiiLK
— よしかい (@yoshikai_man) December 22, 2023
感想
StreamDiffusion楽しい
みんなでRTX4090買おうな
この記事が気に入ったらサポートをしてみませんか?