Nuxt, Auth0, Spring Boot で認証付きSPA メモ

とりあえず Auth0 の認証部分を手元で試してみたかった。OAuth2のフローの中で、認可コードなりトークンなりを発行したあとの callback url をバックエンドのAPIにしてなんらかの処理をした上でフロントにリダイレクトしてみたかった。
(普通は、callback url はフロント側になっていて、裏でバックエンドを叩いてなんらかの処理をしている間は「ログイン中」みたいなページを表示すると思う。)
WebApp-pageA -> Auth0(login) -> Backend -> WebApp-pageB
まず Mac に Node.js をインストール。適当に v10.20.1 を使う。
$ nodebrew install-binary v10.20.1
$ nodebrew use v10.20.1
$ node --version
v10.20.1
基本的には以下の記事に従う。
https://qiita.com/mijinco0612/items/ffd60bf52c4b4ea3a35a
# Install the CLI
$ npm install -g @vue/cli

$ vue init nuxt-community/starter-template

# Move into the project directory
$ cd auth0-sample
$ yarn install
$ yarn dev

$ git add .
$ git commit -m 'Initial commit'
$ vim pages/login.vue
<template>
 <div id="show-auth"/>
</template>
<script>
 export default {
   mounted() {
     this.$auth0.showLock("show-auth");
   }
 };
</script>
<style scoped>
 #show-auth {
   margin-top: 20px;
 }
</style>

$ vim plugins/auth0.js
import Auth0Lock from 'auth0-lock'

//環境変数に登録したDomainとClinentIDをenvから取得
const config = {
 clientID: "**",
 domain: "**"
}

class Auth0Util {
 showLock(container) {
   const lock = new Auth0Lock(
     config.clientID,
     config.domain,
     {
       container,
       closable: false,
       auth: {
         responseType: 'token id_token',
         redirectUrl: "localhost:8080/callback",
         params: {
           scope: 'openid profile email'
         }
       }
     })
   lock.show()
 }

 getBaseUrl() {
   return `${window.location.protocol}//${window.location.host}`
 }
}

export default (context, inject) => {
 inject('auth0', new Auth0Util);
}
次に、SpringBootのInitializrを使って適当なサンプルを落とす。demo というフォルダがダウンロードされるので、それを IntelliJ で開く。
spring-boot-starter-web を build.gradle に追加。
# build.gradle
// https://mvnrepository.com/artifact/org.springframework.boot/spring-boot-starter-web
compile group: 'org.springframework.boot', name: 'spring-boot-starter-web', version: '2.2.7.RELEASE'
適当な Controller を追加。
# mkdir controller
# controller/CallBackController.java
package com.example.demo.controller;

import org.springframework.web.bind.annotation.GetMapping;
import org.springframework.web.bind.annotation.RestController;
import org.springframework.web.servlet.view.RedirectView;

import javax.servlet.http.HttpServletResponse;

@RestController
public class CallbackController {

   @GetMapping("/callback")
   public RedirectView callback(HttpServletResponse response) {
       System.out.println("You reached callback url :)");
       System.out.println("Go back to http://localhost:3000 again");
       return new RedirectView("http://localhost:3000");
   }
}
auth0のダッシュボードで http://localhost:8080/callback を Allowed Callback URLs に設定
https://manage.auth0.com/dashboard

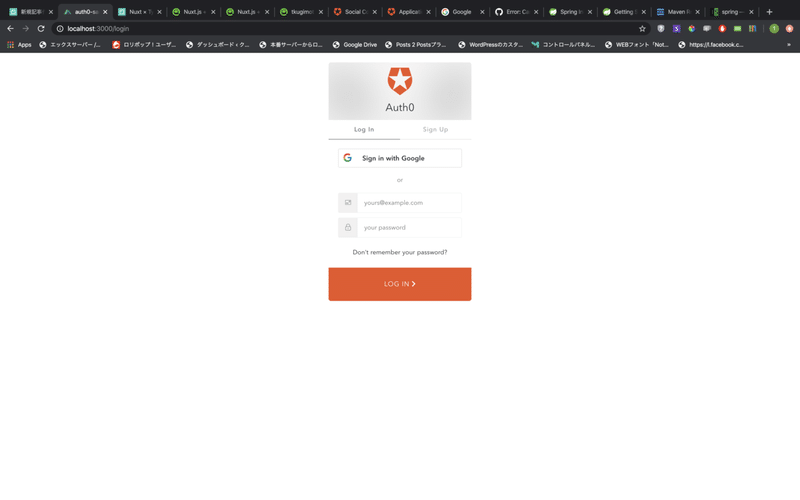
準備が整ったので、http://localhost:3000/login にアクセス。
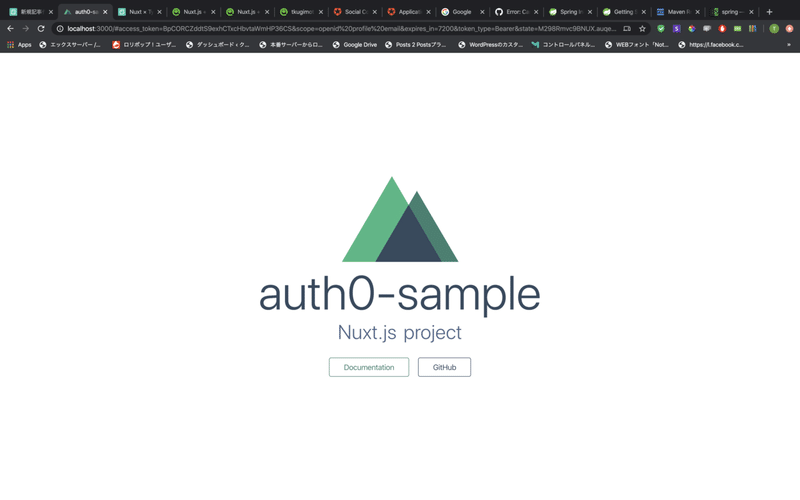
Google認証でログインした後に、すぐにlocalhost:3000 にリダイレクトされた。
バックエンド側のログは以下の通り。
2020-05-09 15:30:35.930  INFO 10519 --- [nio-8080-exec-1] o.a.c.c.C.[Tomcat].[localhost].[/]       : Initializing Spring DispatcherServlet 'dispatcherServlet'
2020-05-09 15:30:35.930  INFO 10519 --- [nio-8080-exec-1] o.s.web.servlet.DispatcherServlet        : Initializing Servlet 'dispatcherServlet'
2020-05-09 15:30:35.939  INFO 10519 --- [nio-8080-exec-1] o.s.web.servlet.DispatcherServlet        : Completed initialization in 9 ms
You reached callback url :)
Go back to http://localhost:3000 again
<=========----> 75% EXECUTING [15m 5s]
> :bootRun
バックエンド側の他のAPIアクセスの際のJWT検証まではやっていないが、その辺のやり方も Auth0 のQuickStartにあって、比較的簡単にできそうな様子。
この記事が気に入ったらサポートをしてみませんか?