Label と Button Xcode Swift で iPhoneアプリ開発 入門

Button を押すと Label の文字が変わる、超シンプルなサンプルアプリの作り方
◾️開発環境
macOS Catalina 10.5.1
Xcode 11.2.1
Swift 5.2.1
iOS 13.2.3
◾️Step 1
Xcode を起動する
◾️Step 2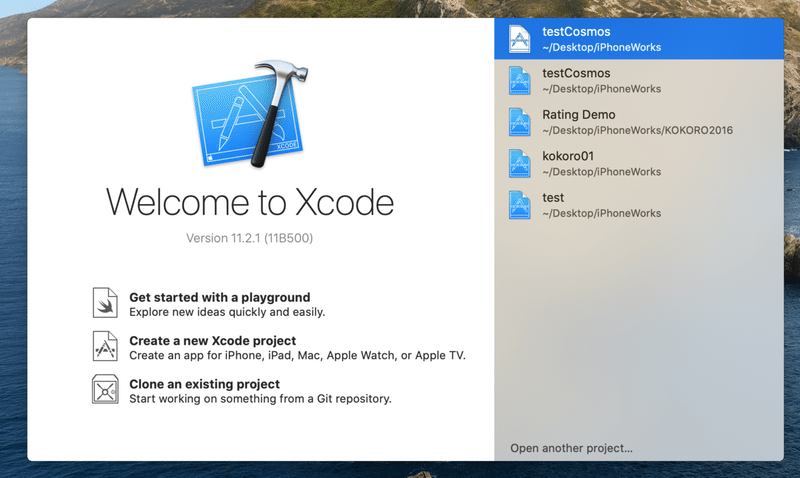
Create a new Xcode project を選択
◾️Step3
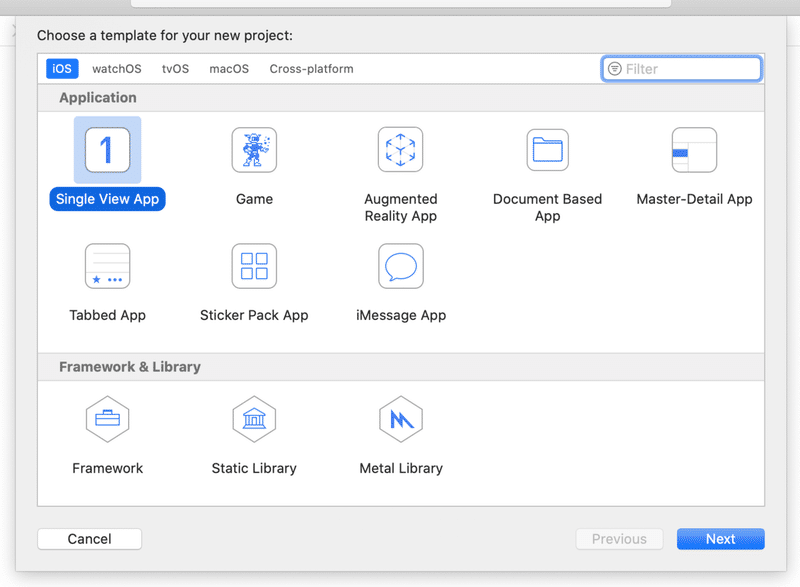
Single View App を選択
Next で次へ
◾️Step 4
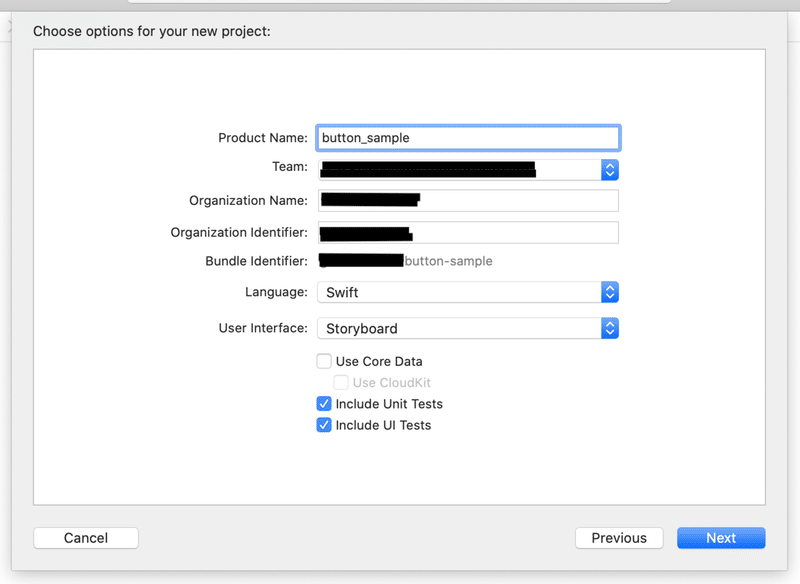
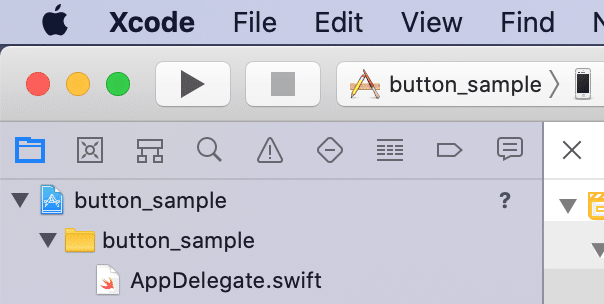
Product Name : button_sample ※任意
Language : Swift
User Interface : Srotyboard ※ここ重要
Next で次へ
◾️Step 5

ディレクトリを指定 ※任意
Create
◾️Step 6
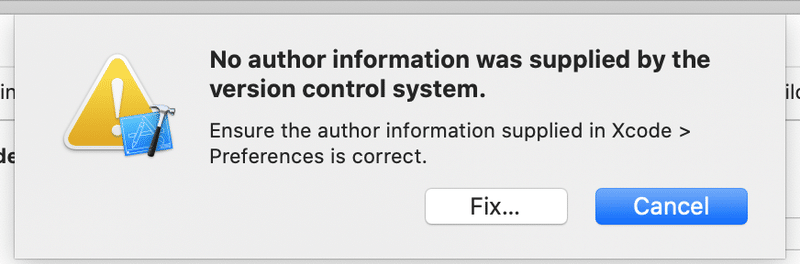
version control system のワーニングは 『Fix...』する
◾️Step 7
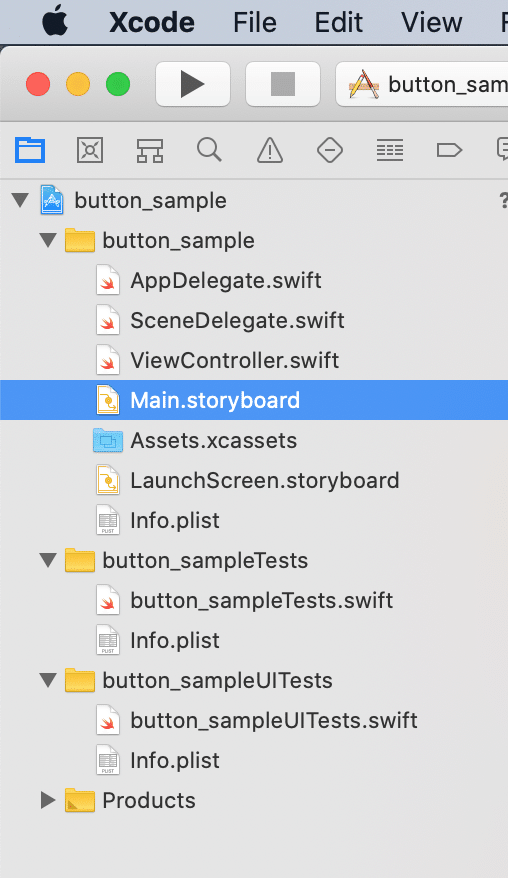
Main.storyboard を選択
◾️Step 8
command + shift + L でライブラリの画面を開く
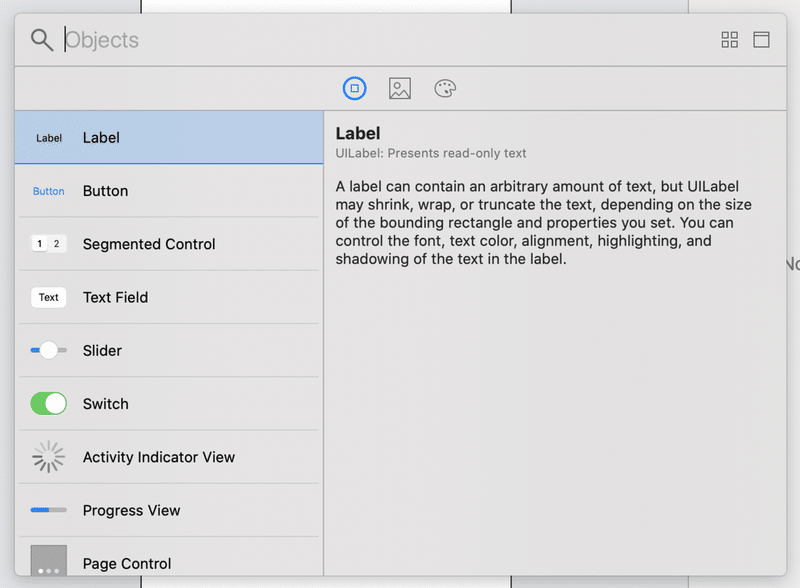
◾️Step 9
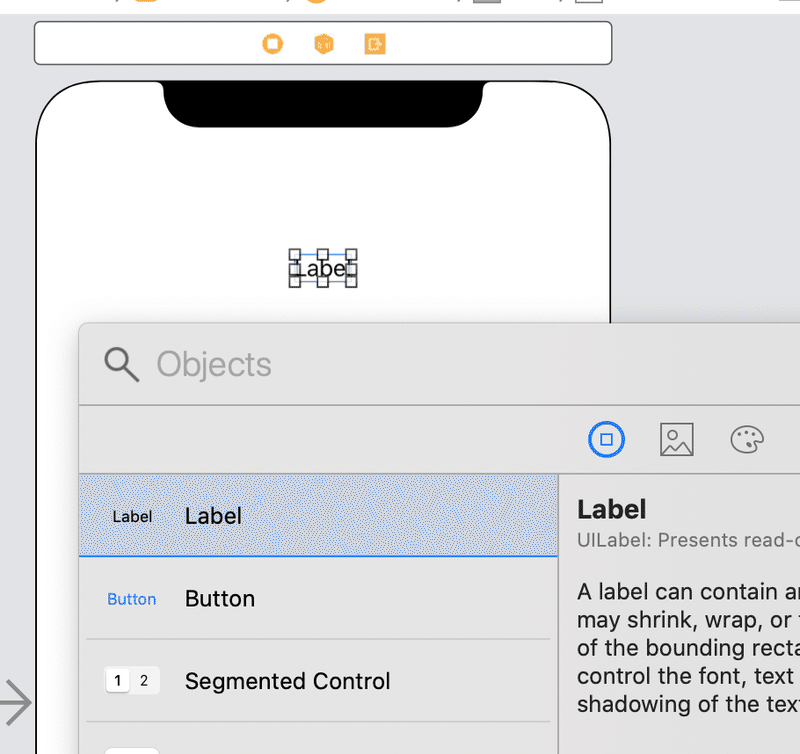
ライブラリ画面から Label を選んで storyboard に Drag & Drop
◾️Step 10
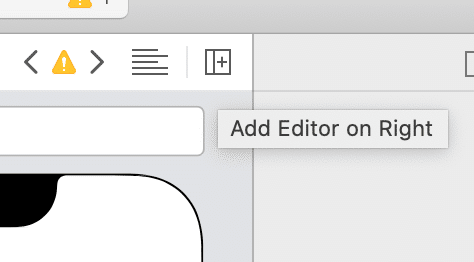
『Add Editor on Right』のボタンを押して、2画面にする
◾️Step 11
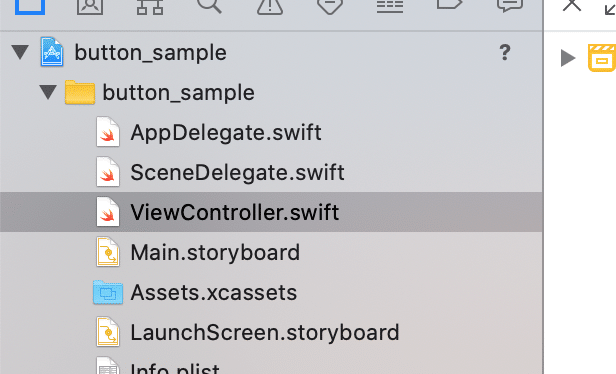
ViewController.swift を選択して
◾️Step 12
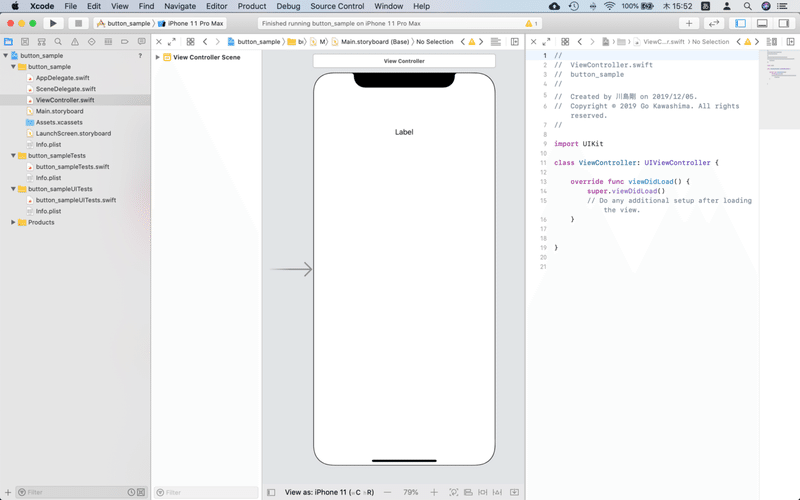
Main.storyboard と ViewContoller.swift の2画面の構成にする
◾️Step 13
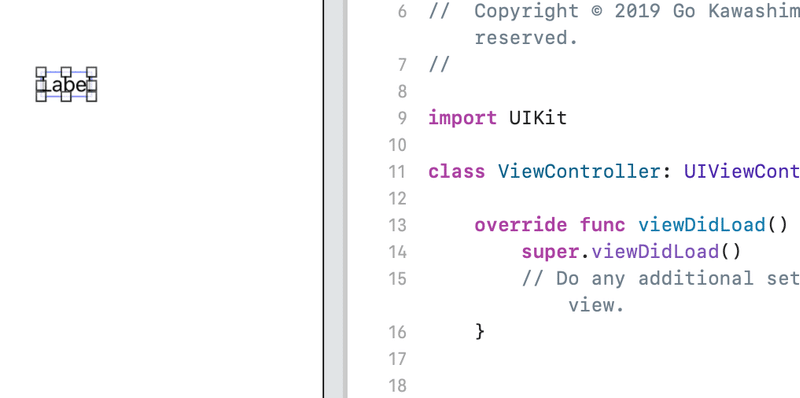
Label を右クリックしながら、ViewController.swift 内 ViewController まで Drag & Drop
◾️Step 14
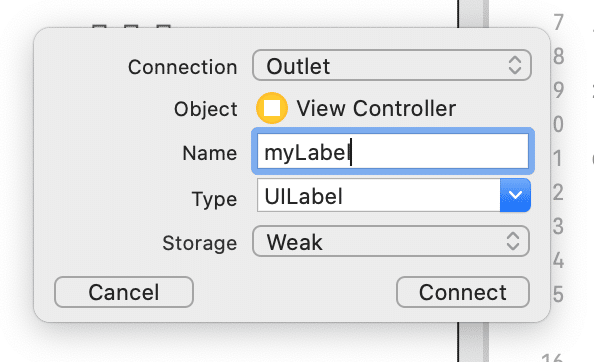
Name を myLabel とする ※任意
その他はデフォルトでOK
Connect
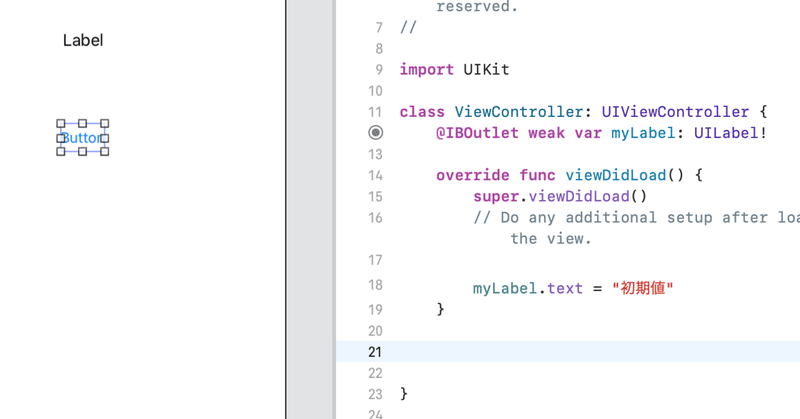
◾️Step 15
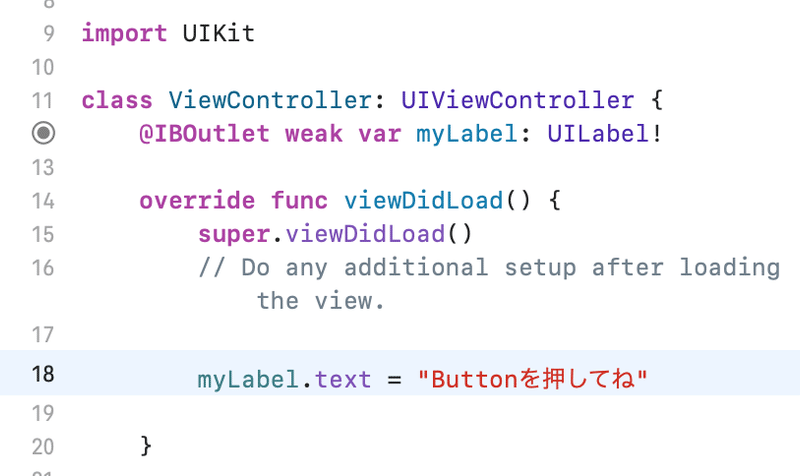
ViewController.swift
viewDidLoad() 内に
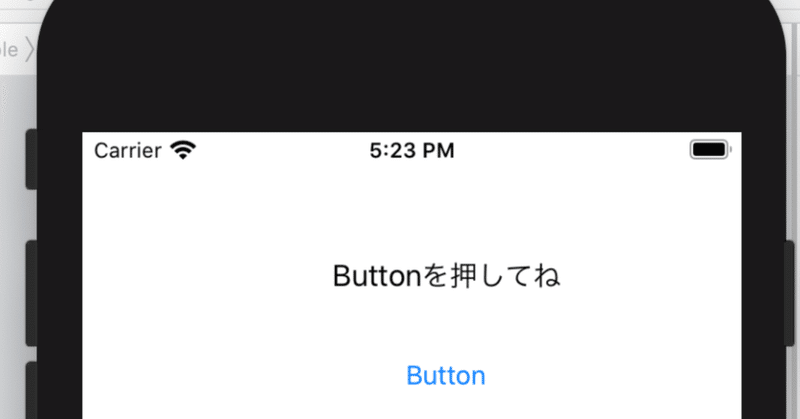
myLabel.text = "Buttonを押してね"
でラベルの初期値を設定する
◾️Step 16
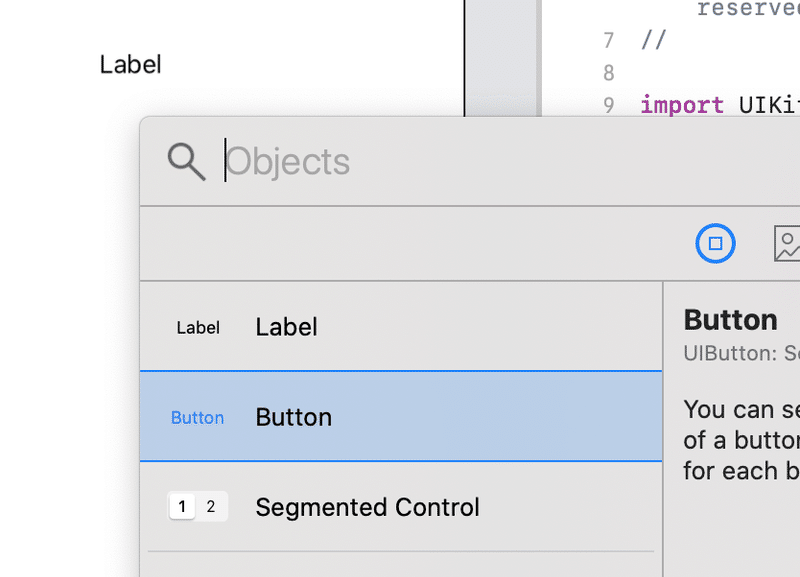
command + shift + L でライブラリ画面を表示
◾️Step 17
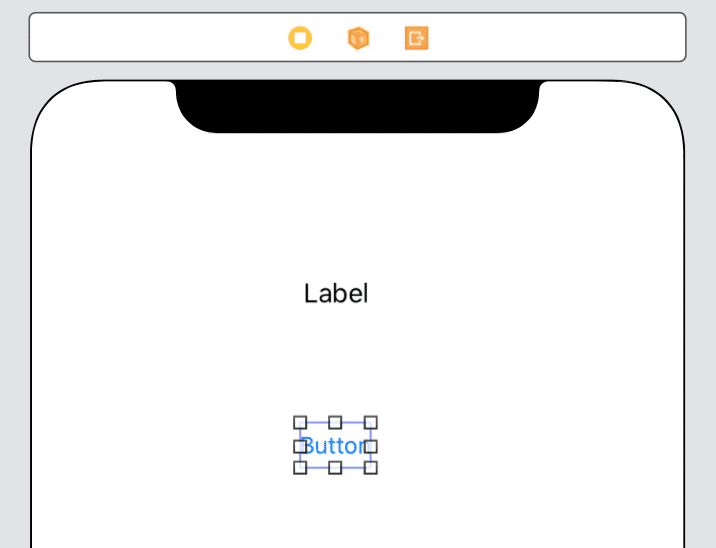
Button を Main.storyboad 上に Drag & Drop
◾️Step 18
Button を右クリックしながら
ViewController.swift
class ViewController 内に Drag & Drop
◾️Step 19
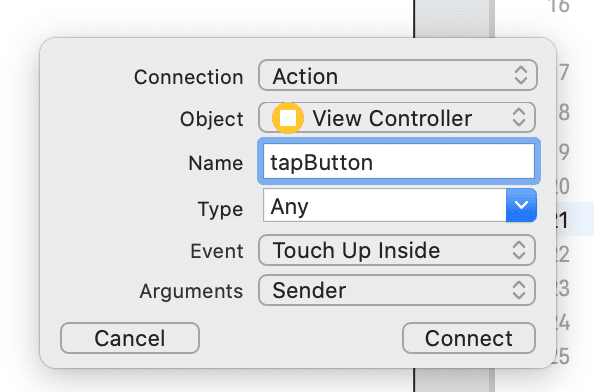
Name : tapButton ※任意
その他はデフォルトでOK
Connect
◾️Step 20
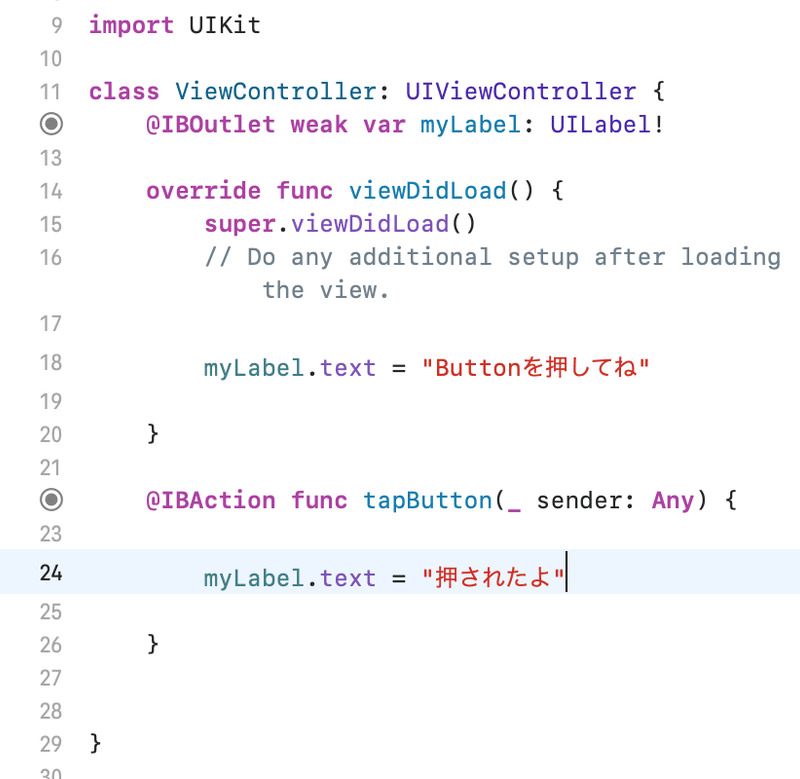
自動生成された関数 func tapButton 内に
ボタンタップ時のアクションを指定する
例:ボタンが押されたら、Label を『押されたよ』にする
myLabel.text = "押されたよ"
◾️Step 21
Build ボタンを押して、動作を確認する
◾️Step 22
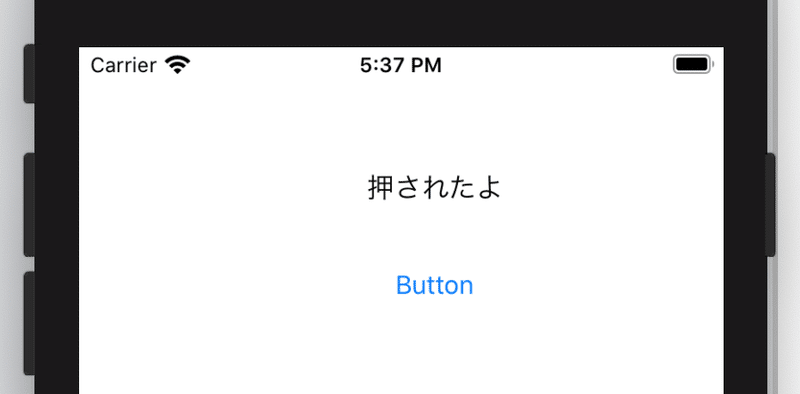
Button を押して Label が変われば OK
以上
この記事が気に入ったらサポートをしてみませんか?