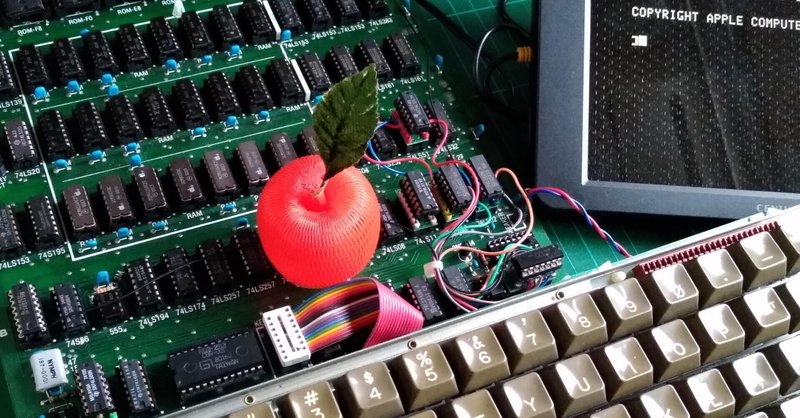
Apple II ▷ タッチディスプレイ工作記(6)

▷ タッチスクリーン・ドライバ|Arduino goodix touch screen driver
前回の記事でArduino(Metro Mini 328)とGoodix社のGT9271を搭載したスクリーンパネルを接続するためのドライバについて紹介しました.これをりようしてタッチスクリーンのスケッチを記述します.
まず,nik-nik-sharky/arduino-goodixより<arduino-goodix-master.zip>をダウンロードします.ぼくはこの中にある<example>の"GT911_avr_touch.ino"を参考にして,タッチパネルのスケッチ"Touch_Paddle_A2"を作成しました.これを実行するのに必要なファイル(上記zipに含まれています)は以下のとおりで,同一フォルダに格納しておきます.
・Goodix.cpp
・Goodix.h
・GoodixFW.h
・GoodixStructs.h
これら4点はとくに修正する必要はありません.
※上記のドライバはGT911用ですが,GT9271でも利用できます.
▷ Apple IIタッチスクリーンスケッチ|Touch_Paddle_A2
Apple IIタッチスクリーンスケッチのスケッチは以下のとおりです.
// Touch Panel window for Apple II
// Special thanks nik-sharky for his work
// on the website quoted below.
// github.com/nik-sharky/arduino-goodix
// This code was developed on 11 April 2021

#include <Wire.h>
#include "Goodix.h"

#include <SPI.h>

// INT_PIN will be used with
// attachInterrupt(intPin, _goodix_irq_handler, RISING),
// so select it properly for Your board
// touchpanel -> Arduino(Metro Mini 328)
// 1 RST -> pin 2
// 2 SDA -> SDA, A4
// 3 SCL -> SCL, A5
// 4 INT -> pin 3
// 5 VDD -> 3v3
// 6 GND -> GND

  #define INT_PIN 1  // pin 3
  #define RST_PIN 0  // pin 2

Goodix touch = Goodix();

// Digital Potentiometer  ---------------------
byte address = 0x11;

int CSx1= 7;
int CSy1= 8;
int CSx2= 9;
int CSy2= 10;

float x[2];
float y[2];
float Rx[2];
float Ry[2];

// window frame calibration
int xmin = 135;
int xmax = 900;
int ymin = 60;
int ymax = 550;

// main
void setup() {

  Serial.begin(19200);
  Serial.println("\nGoodix GT9271 touch driver");
  Serial.println("Touch Panel Window for Apple II");

  Wire.setClock(400000);
  Wire.begin();
  delay(300);

  touch.setHandler(handleTouch);
  touchStart();

// digital potentiometer  ---------------------
  pinMode (CSx1, OUTPUT);
  pinMode (CSy1, OUTPUT);
  pinMode (CSx2, OUTPUT);
  pinMode (CSy2, OUTPUT);
  SPI.begin();
}

void loop() {
  touch.loop();
  delay(1);
}

void handleTouch(int8_t contacts, GTPoint *points) {

  for (uint8_t i = 0; i < 2; i++) {

//-------------------------------------
  if(points[i].x <= xmin){
    x[i] = 0;
  }else if(points[i].x >= xmax){
    x[i] = xmax-xmin;
  }else{
    x[i] = (points[i].x-xmin);
  }

  if(points[i].y <= ymin){
    y[i] = 0;
  }else if(points[i].y >= ymax){
    y[i] = ymax-ymin;
  }else{
    y[i] = (points[i].y-ymin);
  }
// Resistance ---------------------
    Rx[i] = x[i]*150/(xmax-xmin);
    Ry[i] = y[i]*150/(ymax-ymin);

// Channel #1 ---------------------
    if(contacts == 1 || contacts == 2){
  // X-axis No1 ---------------------
      digitalPotWriteX1(x[0]*256/(xmax-xmin));
      delay(1);
  // Y-axis No1 ---------------------
      digitalPotWriteY1(y[0]*256/(ymax-ymin));
      delay(1);
    }

// Channel #2 ---------------------
    if(contacts == 2){
  // X-axis No2 ---------------------
      digitalPotWriteX2(x[1]*256/(xmax-xmin));
      delay(1);
  // Y-axis No2 ---------------------
      digitalPotWriteY2(y[1]*256/(ymax-ymin));
      delay(1);
    }
  }
}

void touchStart() {
  if (touch.begin(INT_PIN, RST_PIN)!=true) {
    Serial.println("! Module reset failed");
  } else {
    Serial.println("Module reset OK");
  }

  Serial.print("Check ACK on addr request on 0x");
  Serial.print(touch.i2cAddr, HEX);

  Wire.beginTransmission(touch.i2cAddr);
  int error = Wire.endTransmission();
  if (error == 0) {
    Serial.println(": SUCCESS");
  } else {
    Serial.print(": ERROR #");
    Serial.println(error);
  }
}

// Digital Potntiometer Control Routine ---------------------
int digitalPotWriteX1(int valueX1)
{
  digitalWrite(CSx1, LOW);
  SPI.transfer(address);
  SPI.transfer(valueX1);
  digitalWrite(CSx1, HIGH);
}

int digitalPotWriteY1(int valueY1)
{
  digitalWrite(CSy1, LOW);
  SPI.transfer(address);
  SPI.transfer(valueY1);
  digitalWrite(CSy1, HIGH);
}

int digitalPotWriteX2(int valueX2)
{
  digitalWrite(CSx2, LOW);
  SPI.transfer(address);
  SPI.transfer(valueX2);
  digitalWrite(CSx2, HIGH);
}

int digitalPotWriteY2(int valueY2)
{
  digitalWrite(CSy2, LOW);
  SPI.transfer(address);
  SPI.transfer(valueY2);
  digitalWrite(CSy2, HIGH);
}
内容はタッチスクリーンから取得した座標データをスケールしてデジタルポテンショメータに引き渡すだけの簡単なものです.
スケッチの中に"window frame calibration"として,
int xmin = 135;
int xmax = 900;
int ymin = 60;
int ymax = 550;
という記述がありますが,これは液晶ディスプレイの描画エリアに対応したタッチスクリーン上の有効エリアを定義するものです.利用するディスプレイのアスペクト比などにより変わると考えられます.決定方法は次の記事で説明します.
この記事が気に入ったらサポートをしてみませんか?