【VRMA正式リリース】 three-vrm による VRMアニメーション を試す

「three-vrm」による VRMアニメーションを試したので、まとめました。
・three.js 0.160.1
・typescript 5.3.3
・webpack 5.90.3
・@pixiv/three-vrm 2.1.0
・@pixiv/three-vrm-animation 2.1.0
1. はじめに
2024年2月21日、VRM用のアニメーションファイル「VRMA」が正式リリースしました。「VRMA」を利用することで、人型モデル向けアニメーションをアプリやモデルをまたいで共通フォーマットとして利用できます。
そこで今回は、「three-vrm」による VRMアニメーションを試していみます。「three-vrm」は「three.js」ベースの3Dグラフィックスライブラリで、Webブラウザ上でVRMを表示できるようになります。
2. VRMの準備
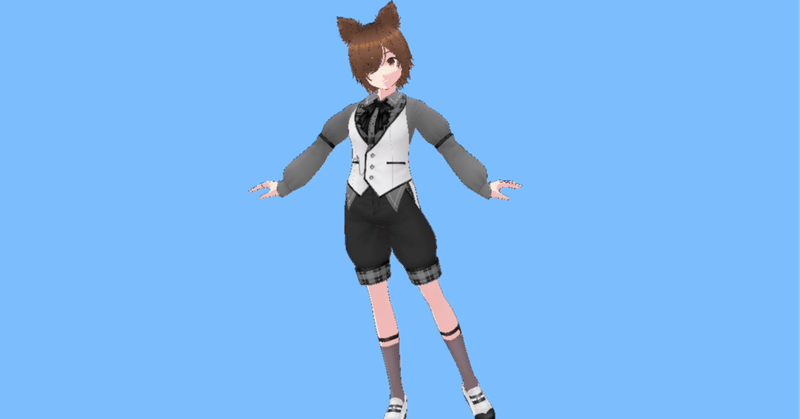
今回は、「VRoid Studio」でオリジナルモデルを作成して利用します。
(1) 「VRoid Studio」をサイトからダウンロードしてインストール。
(2) 「新規作成」をクリック。

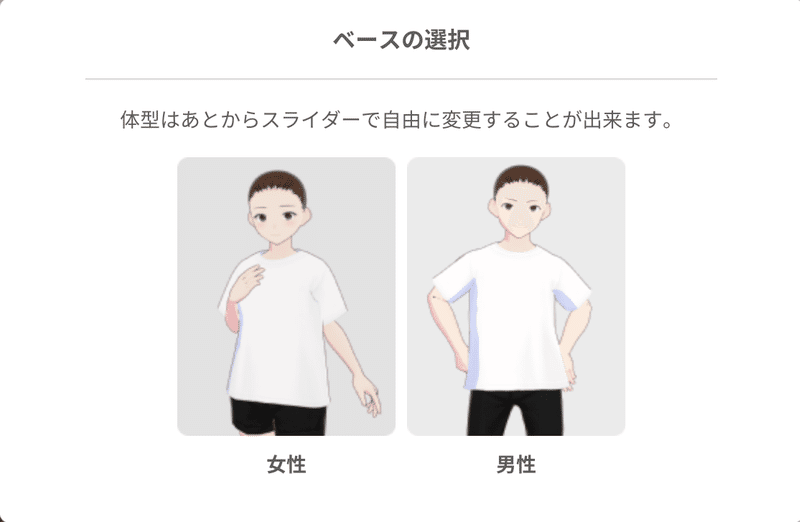
(3) 「ベース」を選択。
(4) 各種項目を設定。
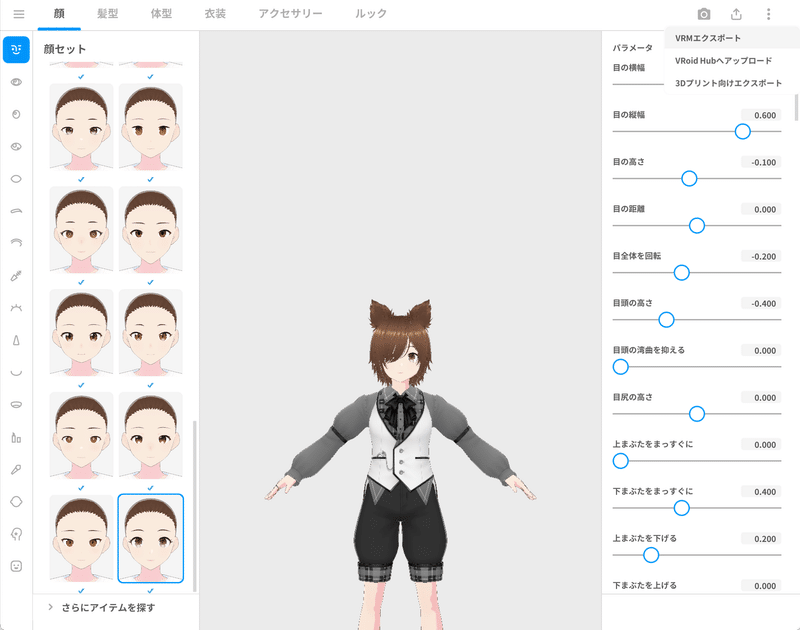
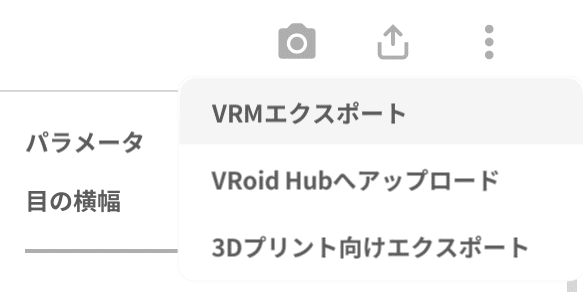
(5) 右上のシェアボタンで、「VRMエクスポート」を選択。
今回は、「model.vrm」という名前で出力しました。
3. VRMAの準備
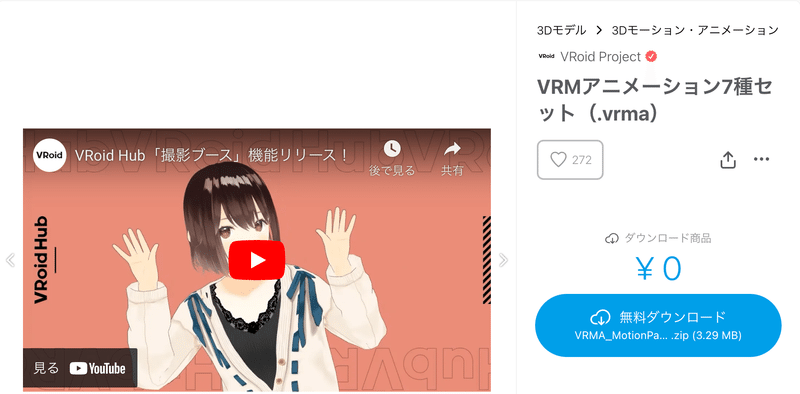
今回は、「VRoid」公式で提供されてる「VRMアニメーション7種セット(.vrma)」を使います。
(1) 「BOOTH」の「VRMアニメーション7種セット(.vrma)」のページを開いてダウンロード。
・VRMA_01 : 全身を見せる
・VRMA_02 : 挨拶
・VRMA_03 : Vサイン
・VRMA_04 : 撃つ
・VRMA_05 : 回る
・VRMA_06 : モデルポーズ
・VRMA_07 : 屈伸運動
4. プロジェクトの準備
プロジェクトの準備手順は、次のとおりです。
(1) 「Node.js」のインストール。
(2) 「LiveServer」の準備。
$ npm i -g live-server(3) プロジェクトの作成。
$ mkdir helloworld
$ cd helloworld
$ npm init -y
(4) TypeScriptの準備。
$ npm i -D webpack webpack-cli typescript ts-loader
$ npx tsc --init
(5) パッケージのインストール。
「three-vrm」に加えて「three-vrm-animation」もインストールしています。
$ npm i -S three @pixiv/three-vrm
$ npm i -S @pixiv/three-vrm-animation
(6) 「package.json」の "scripts" を以下のように編集。
  "scripts": {
    "start": "live-server dist",
    "build": "webpack",
    "watch": "webpack -w"
  },
5. VRMの表示
VRMの表示手順は、次のとおりです。
(1) 「src」フォルダを作成し、「index.ts」を作成して配置。
・src/index.ts
import * as THREE from "three"
import { GLTFLoader } from "three/examples/jsm/loaders/GLTFLoader"
import { VRMLoaderPlugin } from "@pixiv/three-vrm";

window.addEventListener("DOMContentLoaded", () => {
  // canvasの取得
  const canvas = document.getElementById("canvas");
  if (canvas == null) return;

  // シーンの生成
  const scene = new THREE.Scene();

  // カメラの生成
  const camera = new THREE.PerspectiveCamera(
    30, canvas.clientWidth/canvas.clientHeight, 0.1, 20);
  camera.position.set(0.0, 1.0, -4.0)
  camera.rotation.set(0.0, Math.PI, 0.0)

  // レンダラーの生成
  const renderer = new THREE.WebGLRenderer();
  renderer.setPixelRatio(window.devicePixelRatio);
  renderer.setSize(canvas.clientWidth, canvas.clientHeight);
  renderer.setClearColor(0x7fbfff, 1.0);
  canvas.appendChild(renderer.domElement);

  // ライトの生成
  const light = new THREE.DirectionalLight(0xffffff, Math.PI);
  light.position.set(1.0, 1.0, 1.0);
  scene.add(light);

  // ローダーの準備
  const loader = new GLTFLoader();
  loader.register((parser) => {
    return new VRMLoaderPlugin(parser);
  });

  // VRMの読み込み
  loader.load("./model.vrm",
    // ロード時に呼ばれる
    (gltf) => {
      const vrm = gltf.userData.vrm;
      scene.add(vrm.scene);
      console.log(vrm);
    },
    // プログレス時に呼ばれる
    (progress) => console.log(
        "Loading model...",
        100.0 * (progress.loaded / progress.total), "%"
    ),
    // エラー時に呼ばれる
    (error) => console.error(error),
  );

  // フレーム毎に呼ばれる
  const update = () => {
    requestAnimationFrame(update);
    renderer.render(scene, camera);
  }
  update();
})
(2) 「dist」フォルダを作成し、「model.vrm」を配置。
(3) ビルドと実行。
$ npm run build
$ npm run start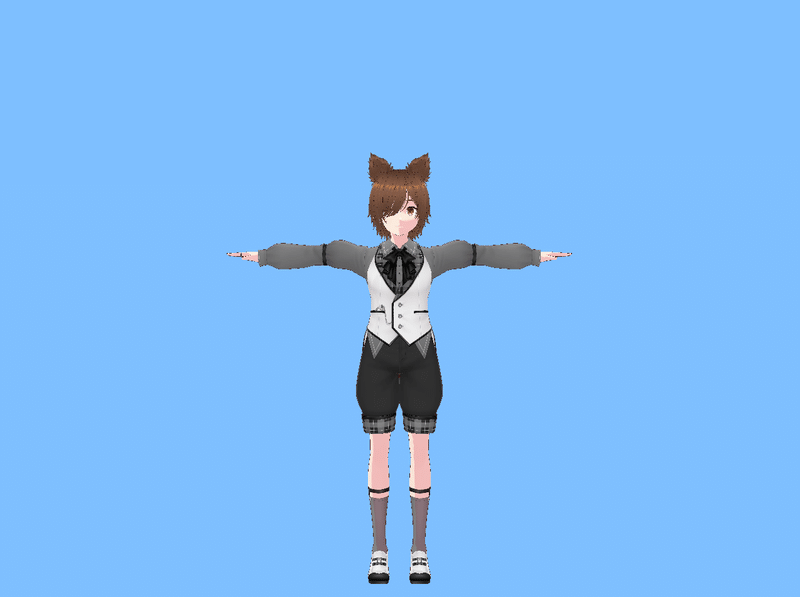
6. VRMのアニメーション
VRMのアニメーション表示手順は、次のとおりです。
(1) 「src」フォルダを作成し、「index.ts」を作成して配置。
・src/index.ts
import * as THREE from "three"
import { GLTFLoader } from "three/examples/jsm/loaders/GLTFLoader"
import { VRMLoaderPlugin } from "@pixiv/three-vrm";
import { createVRMAnimationClip, VRMAnimationLoaderPlugin } from "@pixiv/three-vrm-animation";

window.addEventListener("DOMContentLoaded", () => {
  // canvasの取得
  const canvas = document.getElementById("canvas");
  if (canvas == null) return;

  // シーンの生成
  const scene = new THREE.Scene();

  // カメラの生成
  const camera = new THREE.PerspectiveCamera(
    30, canvas.clientWidth/canvas.clientHeight, 0.1, 20);
  camera.position.set(0.0, 1.0, -4.0)
  camera.rotation.set(0.0, Math.PI, 0.0)

  // レンダラーの生成
  const renderer = new THREE.WebGLRenderer();
  renderer.setPixelRatio(window.devicePixelRatio);
  renderer.setSize(canvas.clientWidth, canvas.clientHeight);
  renderer.setClearColor(0x7fbfff, 1.0);
  canvas.appendChild(renderer.domElement);

  // ライトの生成
  const light = new THREE.DirectionalLight(0xffffff, Math.PI);
  light.position.set(1.0, 1.0, 1.0);
  scene.add(light);

  // VRM要素の準備
  let currentVrm: any = undefined;
  let currentVrmAnimation: any = undefined;
  let currentMixer:any = undefined;

  // ファイルの読み込み
  function load(url: string) {
    loader.load(
        url,
        // ロード時に呼ばれる
        (gltf) => {
            tryInitVRM(gltf);
            tryInitVRMA(gltf);
        },
        // プログレス時に呼ばれる
        (progress) => console.log(
          "Loading model...",
          100.0 * (progress.loaded / progress.total), "%"
        ),
        // エラー時に呼ばれる
        (error) => console.error(error)
    );
  }

  // VRMの読み込み
  function tryInitVRM(gltf: any) {
    const vrm = gltf.userData.vrm;
    if ( vrm == null ) {
        return;
    }
    currentVrm = vrm;
    scene.add(vrm.scene);
    initAnimationClip();
  }

  // VRMAの読み込み
  function tryInitVRMA(gltf: any) {
    const vrmAnimations = gltf.userData.vrmAnimations;
    if (vrmAnimations == null) {
        return;
    }
    currentVrmAnimation = vrmAnimations[0] ?? null;
    initAnimationClip();
  }

  // オーディオクリップの初期化
  function initAnimationClip() {
    if (currentVrm && currentVrmAnimation) {
        currentMixer = new THREE.AnimationMixer(currentVrm.scene);
        const clip = createVRMAnimationClip(currentVrmAnimation, currentVrm);
        currentMixer.clipAction(clip).play();
    }
  }

  // ローダーの準備
  const loader = new GLTFLoader();
  loader.register((parser) => {
    return new VRMLoaderPlugin(parser);
  });
  loader.register((parser) => {
    return new VRMAnimationLoaderPlugin(parser);
  });

  // VRMとVRMAの読み込み
  load("./model.vrm");
  load("./VRMA_01.vrma");

  // clockの準備
  const clock = new THREE.Clock();
  clock.start();

  // フレーム毎に呼ばれる
  const update = () => {
    requestAnimationFrame(update);

    const deltaTime = clock.getDelta();
    if (currentMixer) {
        currentMixer.update(deltaTime);
    }
    if (currentVrm) {
        currentVrm.update(deltaTime);
    }

    renderer.render(scene, camera);
  }
  update();
})
(2) 「dist」フォルダを作成し、「VRMA_01.vrma」を配置。
(3) ビルドと実行。
$ npm run build
$ npm run start
three-vrm-animation で vrma を読み込んで再生する練習https://t.co/kYnyfBfH3N pic.twitter.com/5wFPwCMTpj
— 布留川英一 / Hidekazu Furukawa (@npaka123) February 24, 2024
関連
この記事が気に入ったらサポートをしてみませんか?