SwiftUIで行こう!- Custom Timer! - 2

引き続き参考サイトを見ながらボタンなどの機能を実装していきます。
まず2つめの円を変数により見た目を変えていきたいので、今数字を書いているところを変数に変えます。
Circle()
.trim(from: 0, to: 0.5)
.stroke(Color.red.opacity(0.7),style: StrokeStyle(lineWidth: 35, lineCap: .square))
.frame(width: 280, height: 280)
.rotationEffect(.init(degrees: -90))
ボタンを設置していきます。最初に完成したレイアウトを見ておきます。
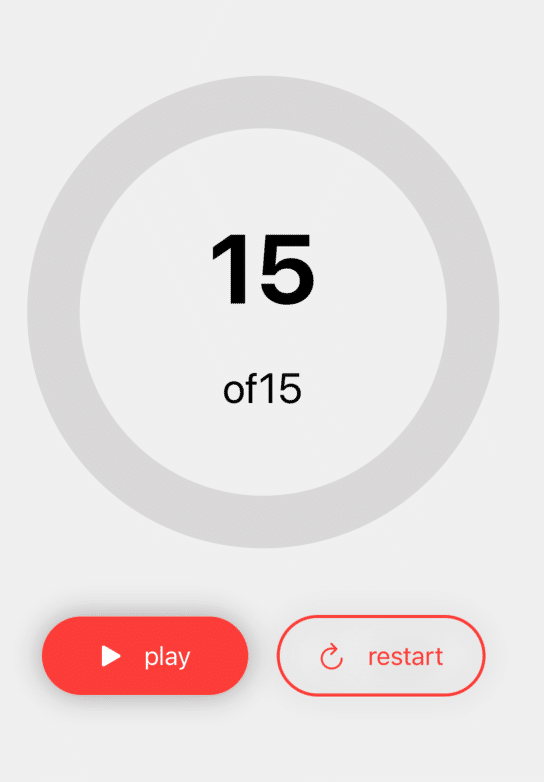
ボタンは円のしたに並行には配置します。
なので HStack{}を設置してそこに Button()を設置します。
HStack{
  Button()  // スタートボタン
  Button()  // リセットボタン
}
の形になります。まずはスタートボタンです。
 Button(action: {
                       if self.count == 30{
                           self.count = 0
                           withAnimation(.default){
                               self.to = 0
                           }
                       }

                       self.start.toggle()
                   }){
                       HStack(spacing:15){
                           Image(systemName: self.start ? "pause.fill" : "play.fill")
                               .foregroundColor(.white)
                           Text(self.start ? "pause" : "play")
                               .foregroundColor(.white)
                       }
                       .padding(.vertical)
                       .frame(minWidth: (UIScreen.main.bounds.width/2) - 50)
                       .background(Color.red)
                       .clipShape(Capsule())
                       .shadow(radius: 10)
                   }
表示部分のコードは以下で
  HStack(spacing:15){
                       Image(systemName: self.start ? "pause.fill" : "play.fill")
                               .foregroundColor(.white)
                       Text(self.start ? "pause" : "play")
                               .foregroundColor(.white)
                       }
                       .padding(.vertical)
                       .frame(minWidth: (UIScreen.main.bounds.width/2) - 50)
                       .background(Color.red)
                       .clipShape(Capsule())
.shadow(radius: 10)HStackで画像とテキストが並びます。
命令部分は
if self.count == 30{
        self.count = 0
        withAnimation(.default){
        self.to = 0
        }
  }
        self.start.toggle()
}となります。最初変数startはfalseで始まってますので押すことでtrueとします。あとはタイマー処理。
 .onReceive(self.time, perform: { _ in
           if self.start{
               if self.count != 15{
                   self.count += 1
                   print("Hello")
                   withAnimation(.default){
                       self.to = CGFloat(self.count) / 15
                   }
               }
               else{
                       withAnimation(.default){
                           self.to = 0
                       }
                       self.start.toggle()
               }
           }
})カウントが進んでいき、それに伴い円状に色をつけていきます。15のカウントが終わることでストップして変数startをfalseに戻します。
もう一つのボタンでリセットすることもできます。
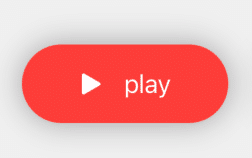
ボタンのレイアウトについてはスタートボタンが
 .padding(.vertical)
 .frame(minWidth: (UIScreen.main.bounds.width/2) - 50)
 .background(Color.red)
 .clipShape(Capsule())
 .shadow(radius: 10)
リセットボタンが
 .padding(.vertical)
 .frame(minWidth: (UIScreen.main.bounds.width/2) - 50)
 .background(
     Capsule()
     .stroke(Color.red,lineWidth: 2)
   )
 .shadow(radius: 10)
としてスタートボタンは赤色のボタン、リセットボタンは赤枠のボタンとなっています。
最後にバックグラウンドで通知処理をするためのコードを追加します。
まず、必要なライブラリをimportします。
import UserNotificationsコードを追加していきます。タイマーが終わったら通知がくるようにします。画面表示されたらUNUserNotificationCenterが呼び出され、通知許可の取得をします。
.onAppear(perform: {}
に
  .onAppear(perform: {
           UNUserNotificationCenter.current().requestAuthorization(options: [.badge,.sound, .alert]){ ( _ , _ ) in

           }
       })
を設置します。
そして実装ですが、
 func Notify(){
       let content  = UNMutableNotificationContent()
       content.title = "message"
       content.body = "Timer is Completed Successfully in Background!!"
       let trigger = UNTimeIntervalNotificationTrigger(timeInterval: 1, repeats: false)
       let req = UNNotificationRequest(identifier: "MSG", content: content, trigger: trigger)
       UNUserNotificationCenter.current().add(req, withCompletionHandler: nil)
   }
あとは
.onReceive()の
else{
withAnimation(.default){
self.to = 0
}
self.start.toggle()
self.Notify()
}
に追加します。これでコードは終わりですが、あとは設定を変更しないといけません。
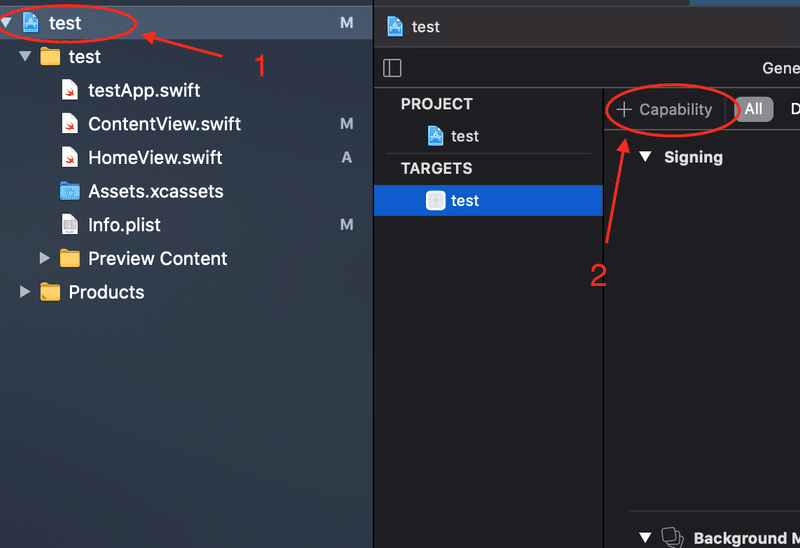
順番に選択していきます。
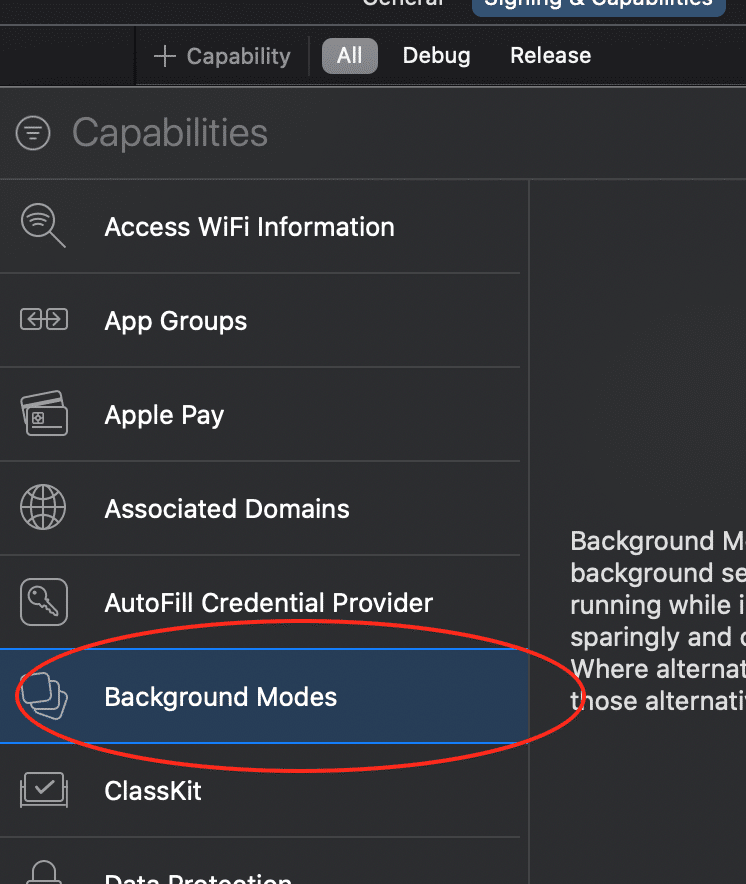
BackgroundModesを選んで、
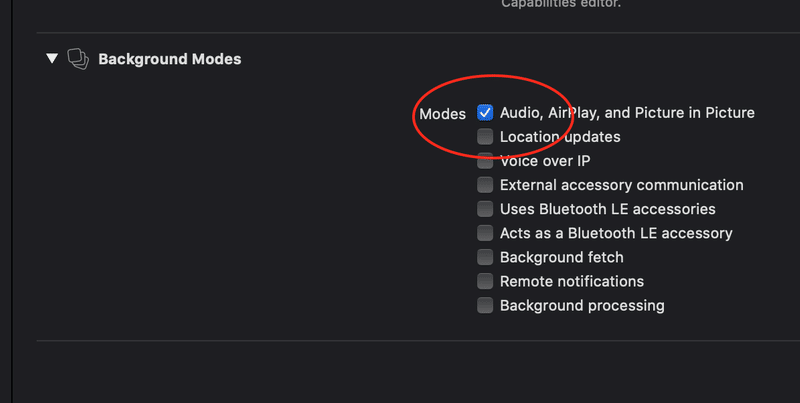
チェックを入れます。これでバックグラウンドでタイマー終了時に通知されるようになります。
この記事が気に入ったらサポートをしてみませんか?