【徒然iOS】気ままにUIKit62〜detailCalloutAccessoryView ピンの吹き出しをカスタマイズ〜

概要
このマガジンは四十を過ぎたおっさんが、
を参考にStoryboardでiOSアプリを完全に趣味で楽しんでいるだけな記事を気ままに上げてます。
今回
をハイ、レッツゴ🕺
前準備
念の為、
バックアップ
新しいクラス
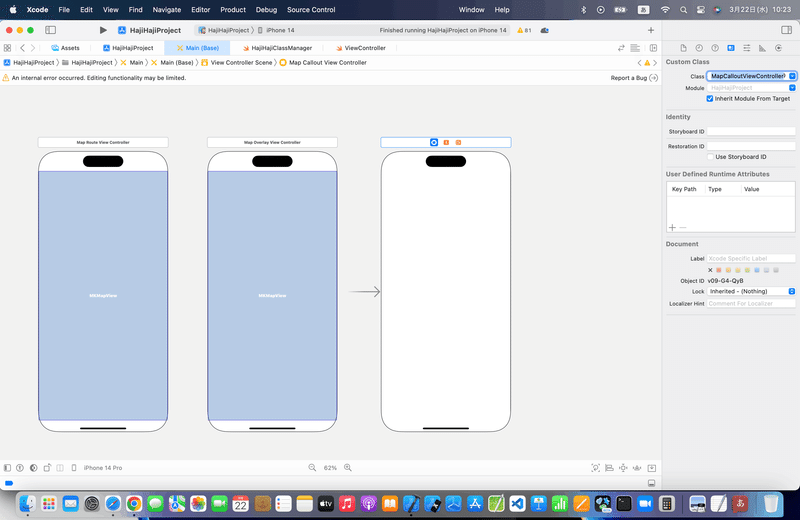
ビューコントローラの追加
イニシャルビューの変更
をいつも通りやってから本題へ💃
先にお断り
でも出てきた
Google Places API
については、今回もやらないので、後半はやらない。
理由についても、上のリンク記事に詳細を書いてるから、そっちで確認してね💦
本題
detailCalloutAccessoryViewって
まあ、要は吹き出しに色々、機能が盛り込めるよ〜〜〜〜
ってことね👀
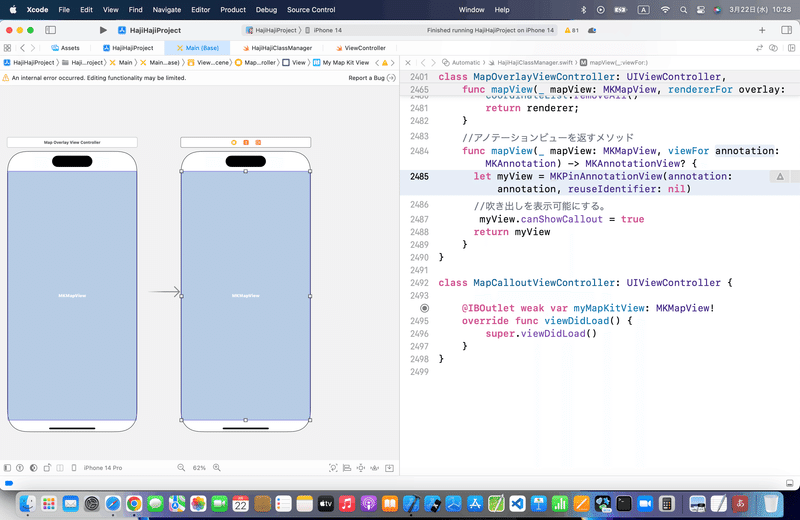
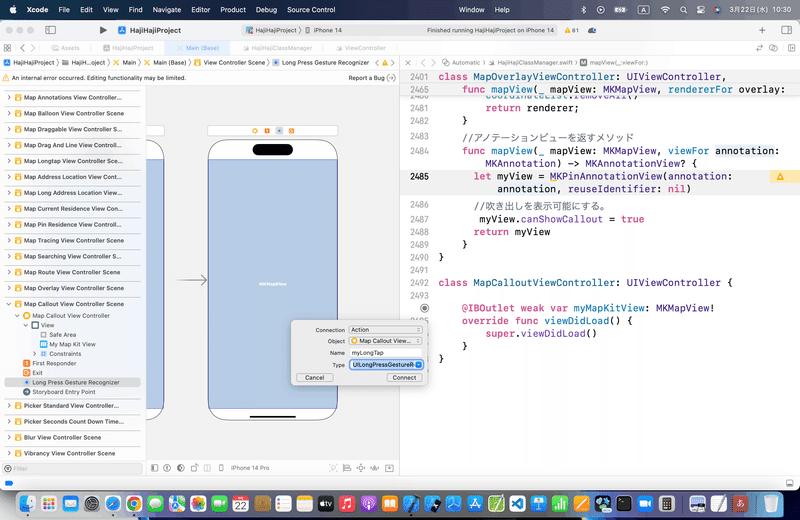
⒈いつもどおりMapKitを配置して、アウトレット接続
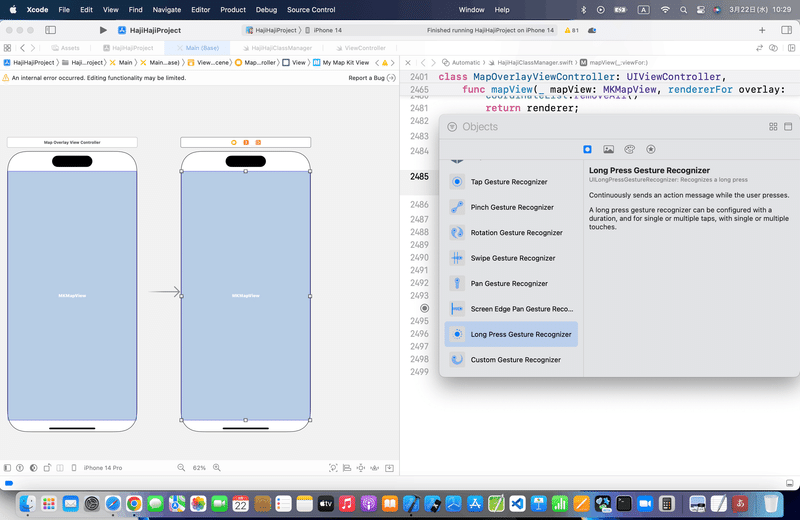
⒉Long Press Gestureをアクション接続
⒊コードを組み込む
//
//  ViewController.swift
//
import UIKit
import MapKit
class ViewController: UIViewController,MKMapViewDelegate {
    @IBOutlet weak var testMapView: MKMapView!
    //最初からあるメソッド
    override func viewDidLoad() {
        super.viewDidLoad()
        //中心座標
        let center = CLLocationCoordinate2DMake(35.0, 140.0)
        //表示範囲
        let span = MKCoordinateSpanMake(1.0, 1.0)
        //中心座標と表示範囲をマップに登録する。
        let region = MKCoordinateRegionMake(center, span)
        testMapView.setRegion(region, animated:true)
        //デリゲート先に自分を設定する。
        testMapView.delegate = self
    }
    //マップビュー長押し時の呼び出しメソッド
    @IBAction func pressMap(sender: UILongPressGestureRecognizer) {
        //マップビュー内のタップした位置を取得する。
        let location:CGPoint = sender.locationInView(testMapView)
        if (sender.state == UIGestureRecognizerState.Ended){
            //タップした位置を緯度、経度の座標に変換する。
            let mapPoint:CLLocationCoordinate2D = testMapView.convertPoint(location, toCoordinateFromView: testMapView)
            //ピンを作成してマップビューに登録する。
            let annotation = MKPointAnnotation()
            annotation.coordinate = CLLocationCoordinate2DMake(mapPoint.latitude, mapPoint.longitude)
            annotation.title = "タイトル"
            annotation.subtitle = "サブタイトル。長い文章を入れると表示が見切れてしまいます。"
            testMapView.addAnnotation(annotation)
        }
    }
    //アノテーションビューを返すメソッド
    func mapView(mapView: MKMapView, viewForAnnotation annotation: MKAnnotation) -> MKAnnotationView? {
        //アノテーションビューを作成する。
        let pinView = MKPinAnnotationView(annotation: annotation, reuseIdentifier: nil)
        //吹き出しを表示可能にする。
        pinView.canShowCallout = true
        //左ボタンをアノテーションビューに追加する。
        let button = UIButton()
        button.frame = CGRectMake(0,0,40,40)
        button.setTitle("色", forState: .Normal)
        button.setTitleColor(UIColor.blackColor(), forState:.Normal)
        button.backgroundColor = UIColor.yellowColor()
        pinView.leftCalloutAccessoryView = button
        //右ボタンをアノテーションビューに追加する。
        let button2 = UIButton()
        button2.frame = CGRectMake(0,0,40,40)
        button2.setTitle("削除", forState: .Normal)
        button2.backgroundColor = UIColor.redColor()
        button2.setTitleColor(UIColor.whiteColor(), forState:.Normal)
        pinView.rightCalloutAccessoryView = button2
        return pinView
    }
    //吹き出しアクササリー押下時の呼び出しメソッド
    func mapView(mapView: MKMapView, annotationView view: MKAnnotationView, calloutAccessoryControlTapped control: UIControl) {
        if(control == view.leftCalloutAccessoryView) {
            //左のボタンが押された場合はピンの色をランダムに変更する。
            if let pinView = view as? MKPinAnnotationView {
                pinView.pinTintColor = UIColor(red: CGFloat(drand48()),
                        green: CGFloat(drand48()),
                        blue: CGFloat(drand48()),
                        alpha: 1.0)
            }
        } else {
            //右のボタンが押された場合はピンを消す。
            mapView.removeAnnotation(view.annotation!)
        }
    }
}
を参考に💃書き換えて〜〜〜
今回のコード(まとめ)
class MapCalloutViewController: UIViewController,MKMapViewDelegate {

    @IBOutlet weak var myMapKitView: MKMapView!
    let x = 139.744858
    let y = 35.675888
    let latitudeDelta = 0.01
    let longitudeDelta = 0.01
    //最初からあるメソッド
    override func viewDidLoad() {
        super.viewDidLoad()
        //中心座標
        let center = CLLocationCoordinate2DMake(y, x)
        //表示範囲
        let span = MKCoordinateSpan(latitudeDelta: latitudeDelta, longitudeDelta: longitudeDelta)
        //中心座標と表示範囲をマップに登録する。
        let region = MKCoordinateRegion(center: center, span: span)
        myMapKitView.setRegion(region, animated:true)
        //デリゲート先に自分を設定する。
        myMapKitView.delegate = self
    }
    //マップビュー長押し時の呼び出しメソッド
    @IBAction func myLongTap(_ sender: UILongPressGestureRecognizer) {
        //マップビュー内のタップした位置を取得する。
        let location:CGPoint = sender.location(in: myMapKitView)
        if (sender.state == UIGestureRecognizer.State.ended){
            //タップした位置を緯度、経度の座標に変換する。
            let mapPoint:CLLocationCoordinate2D = myMapKitView.convert(location, toCoordinateFrom: myMapKitView)
            //ピンを作成してマップビューに登録する。
            let annotation = MKPointAnnotation()
            annotation.coordinate = CLLocationCoordinate2DMake(mapPoint.latitude, mapPoint.longitude)
            annotation.title = "タイトル"
            annotation.subtitle = "サブタイトル。長い文章を入れると表示が見切れてしまいます。"
            myMapKitView.addAnnotation(annotation)
        }
    }
    //アノテーションビューを返すメソッド
    func mapView(_ mapView: MKMapView, viewFor annotation: MKAnnotation) -> MKAnnotationView? {
        //アノテーションビューを作成する。
        let pinView = MKPinAnnotationView(annotation: annotation, reuseIdentifier: nil)
        //吹き出しを表示可能にする。
        pinView.canShowCallout = true
        //左ボタンをアノテーションビューに追加する。
        let button = UIButton()
        button.frame = CGRectMake(0,0,40,40)
        button.setTitle("色", for: .normal)
        button.setTitleColor(UIColor.black, for:.normal)
        button.backgroundColor = UIColor.yellow
        pinView.leftCalloutAccessoryView = button
        //右ボタンをアノテーションビューに追加する。
        let button2 = UIButton()
        button2.frame = CGRectMake(0,0,40,40)
        button2.setTitle("削除", for: .normal)
        button2.backgroundColor = UIColor.red
        button2.setTitleColor(UIColor.white, for:.normal)
        pinView.rightCalloutAccessoryView = button2
        return pinView
    }
    //吹き出しアクササリー押下時の呼び出しメソッド
    func mapView(_ mapView: MKMapView, annotationView view: MKAnnotationView, calloutAccessoryControlTapped control: UIControl) {
        if(control == view.leftCalloutAccessoryView) {
            //左のボタンが押された場合はピンの色をランダムに変更する。
            if let pinView = view as? MKPinAnnotationView {
                pinView.pinTintColor = UIColor(
                    red: CGFloat(drand48()),
                    green: CGFloat(drand48()),
                    blue: CGFloat(drand48()),
                    alpha: 1.0
                )
            }
        } else {
            //右のボタンが押された場合はピンを消す。
            mapView.removeAnnotation(view.annotation!)
        }
    }
}
⒋シミュレータで実行

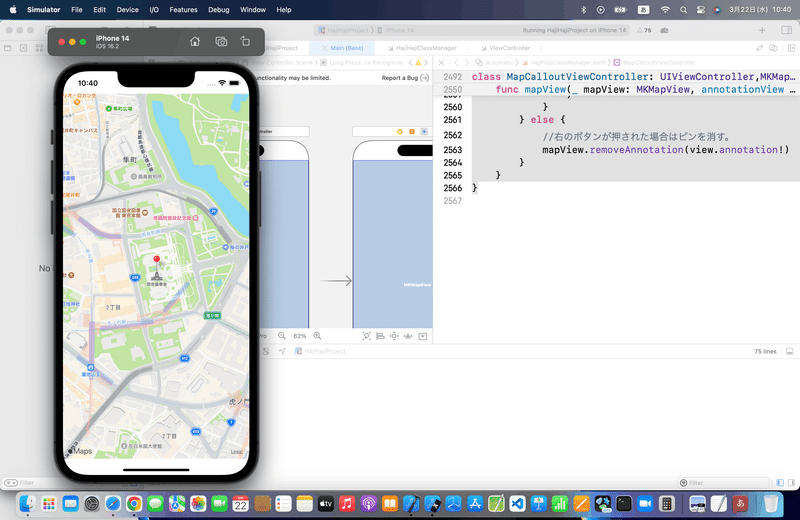

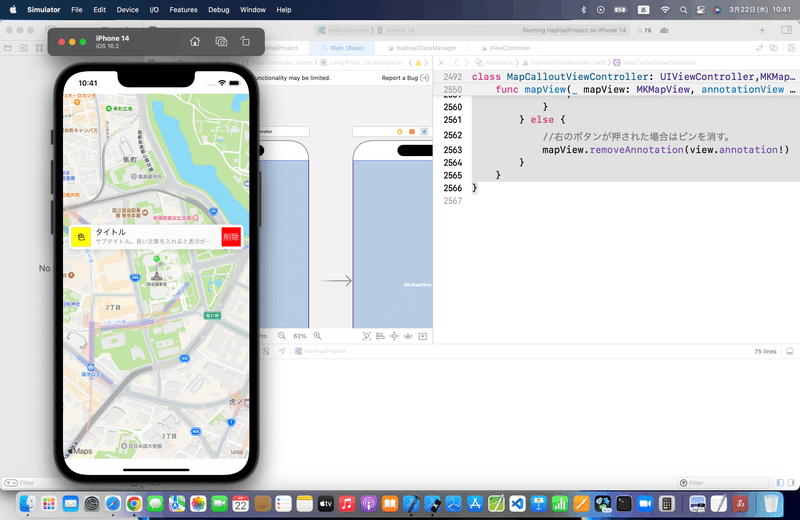

(もう中学生?👀💦)

ハイ、サイト記事については以上💃
ブラッシュアップ
ここまででやってるのと、コードがメインで、色カラーを変えるだけだから今回も特になし。割愛💦
Apple公式
さて、次回は
をレッツゴする🕺
地図機能も駆け足で記事にしてきて、
3日間であと1記事だねえ🤔
恒例になりつつある、よもやま話
すでに12記事は書いてきて、MapKitの様々な標準機能を紹介してきたんだけど、
後は、組み合わせなので、これまでに紹介したコードなんかを参考に、後は
自分で作りたい地図を作るだけ
本番の開発では、正直SwiftUIでしかやらないって決めてるので、このマガジンでは詳細を紹介はしないが、、、
3年半前に作ったアプリに簡単に組み込んだだけでも、、、
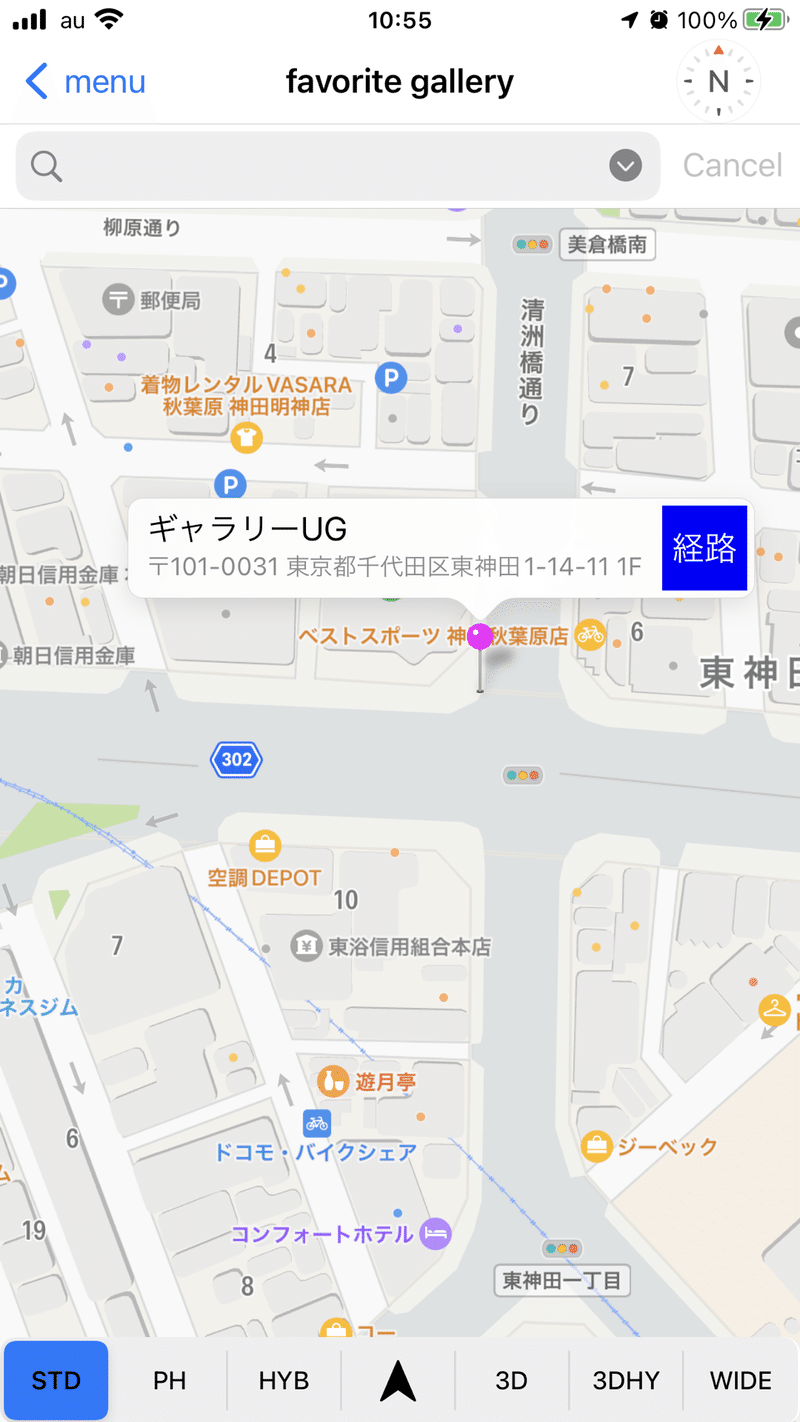
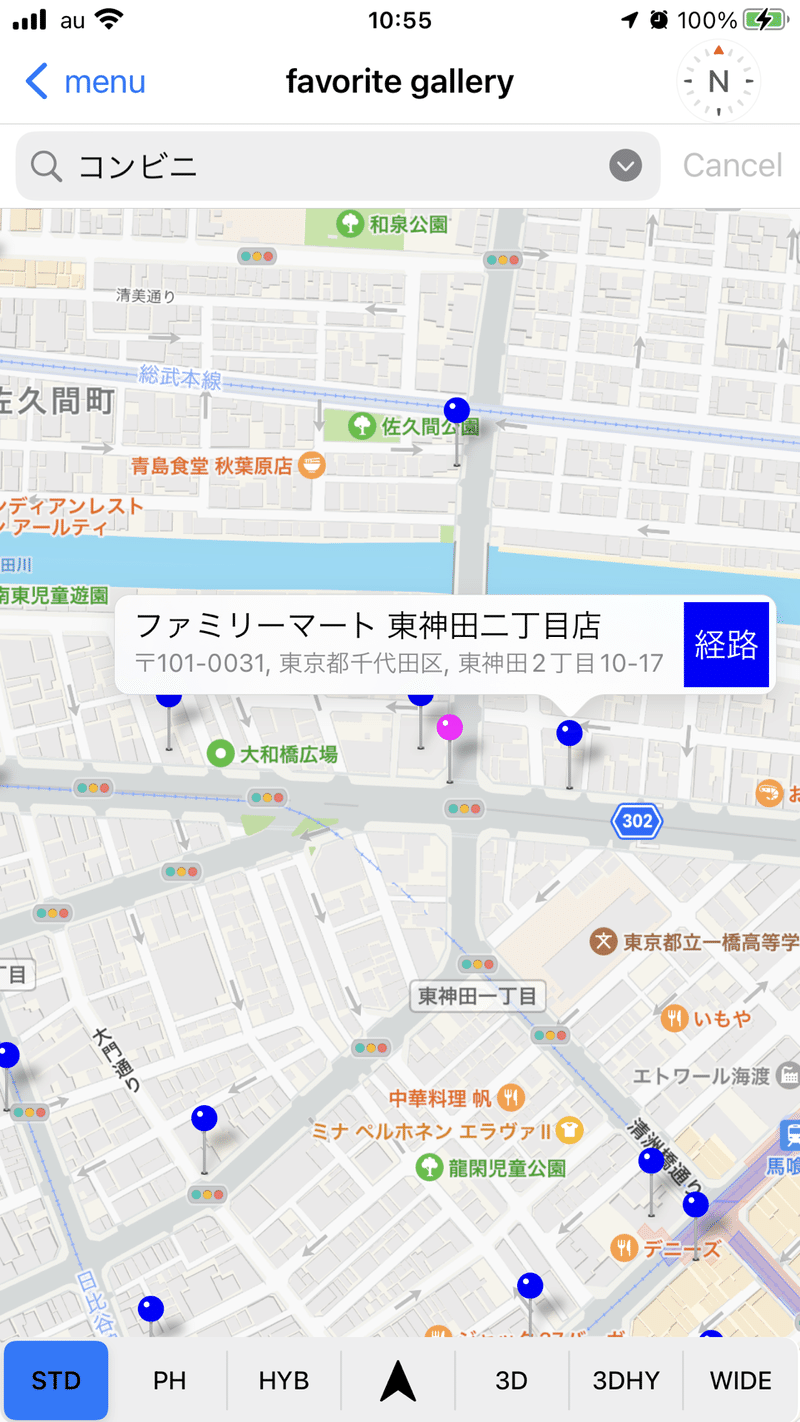
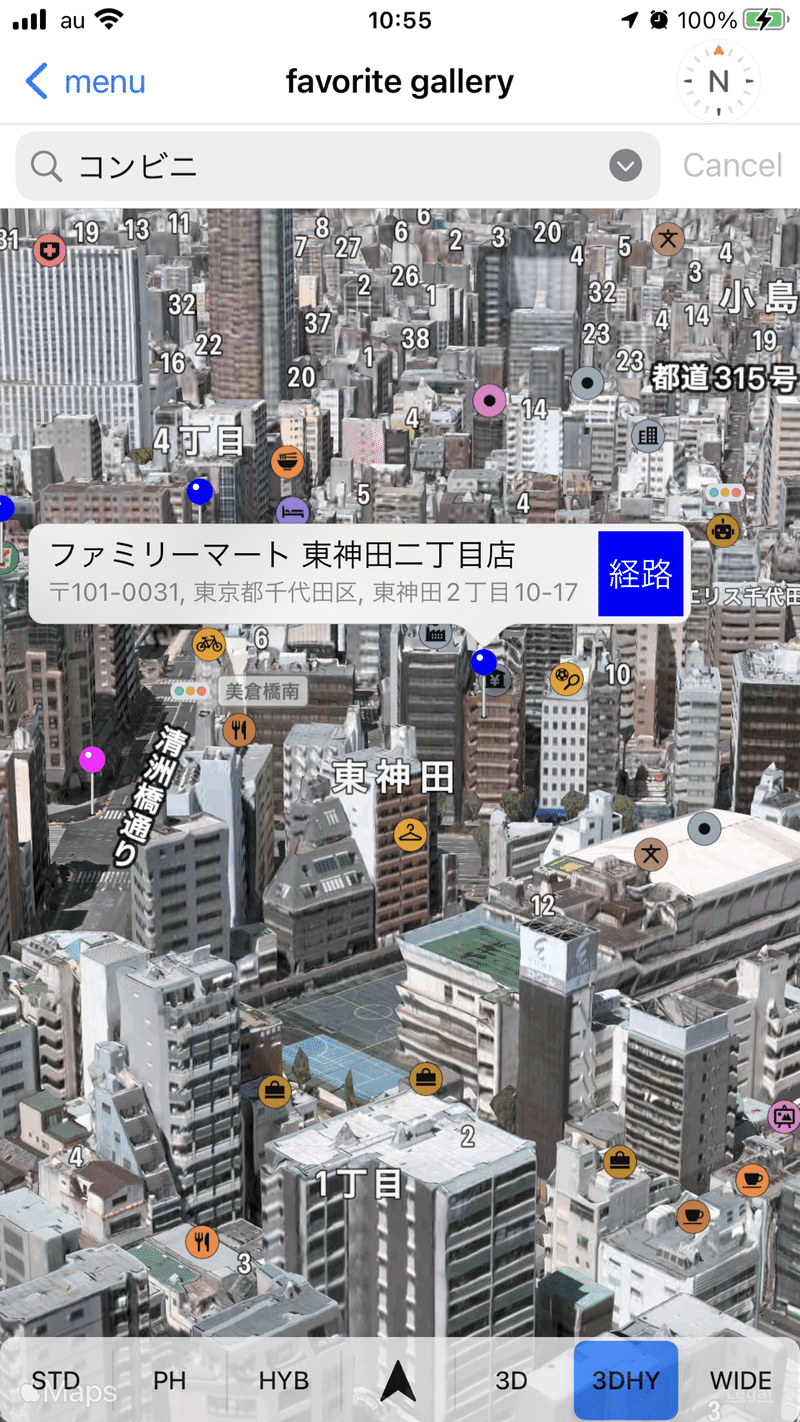
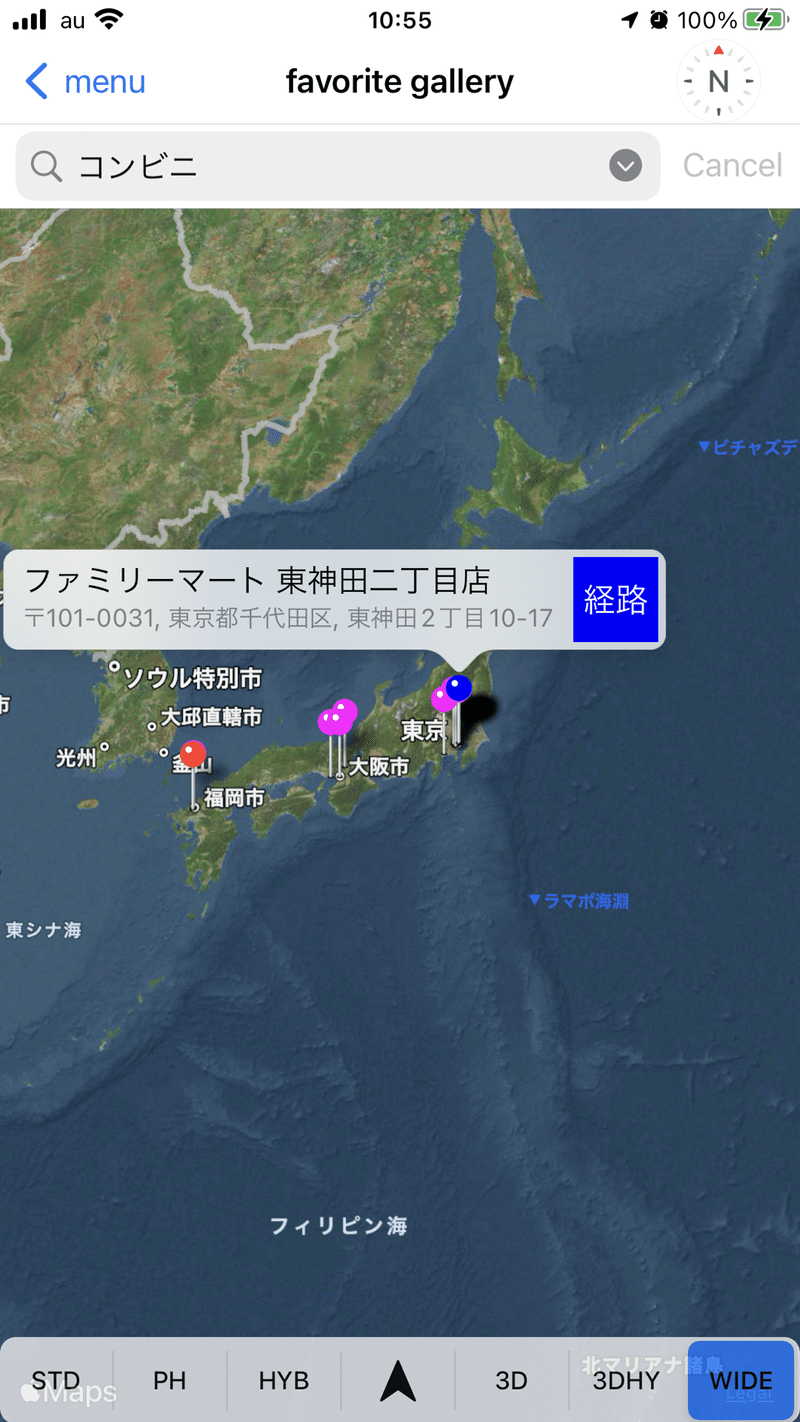
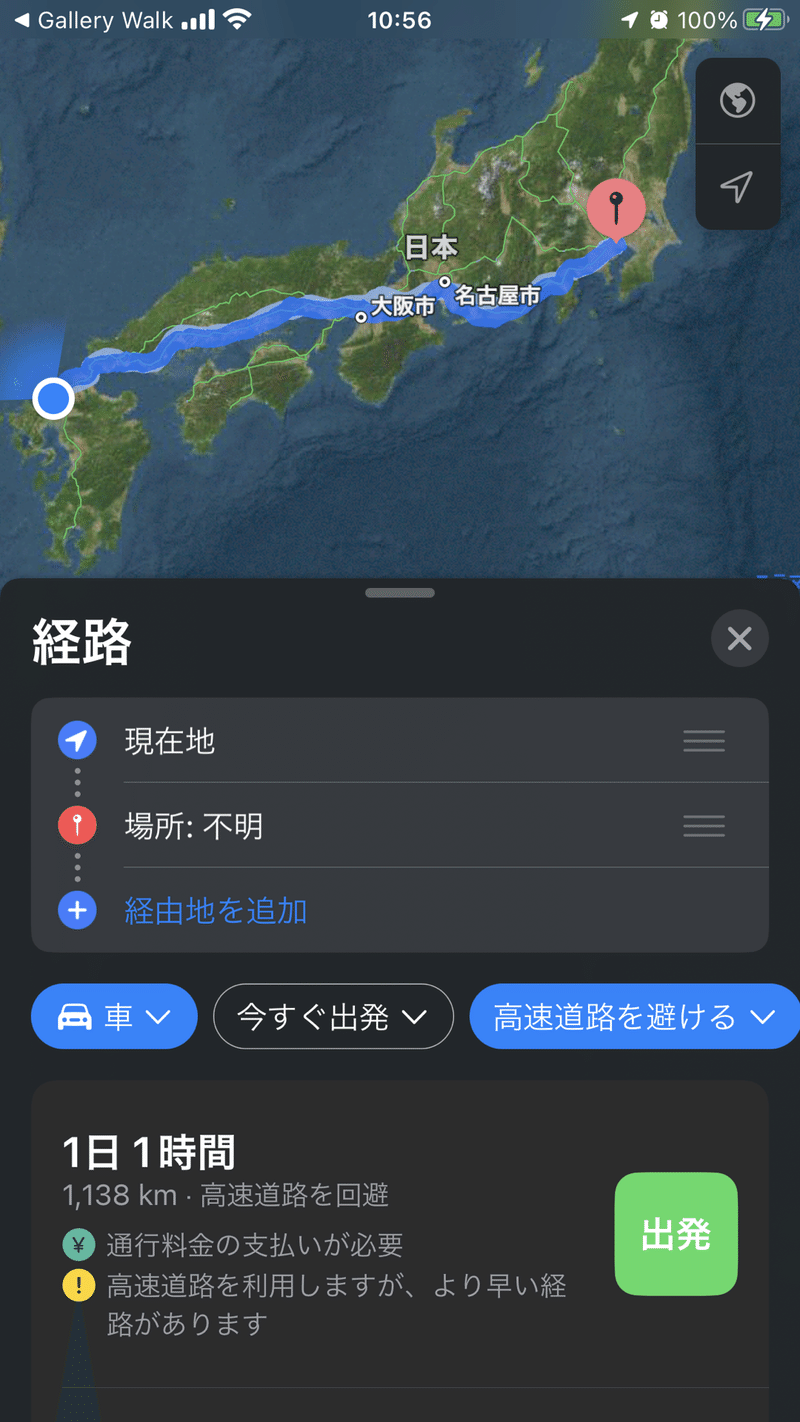
みたいな感じで、組み合わせ次第でなんでも作れる🕺
なので、
これまでの記事の機能で自分なりの地図に挑戦してみてね〜〜〜
素材やサンプルが沢山あった方が良い
と思ったので、駆け足で時間がある時に大量の記事を上げた次第✨
後は、自分のアイデア次第なので、
💃スマホアプリ制作を楽しんで🕺
この記事が気に入ったらサポートをしてみませんか?