
【IT技術】【Swift】任意の文章を読み上げる音源ファイルを作成し、作成した音源ファイルを任意の時間に再生する方法

こんにちは。ラフアンドレディ(株) iOS大好き春蔵です。
SwiftではAVSpeechSynthesizerクラスを用い、任意の文章を読み上げる音源ファイルを作成して、UNUserNotificationCenterで任意の時間に音源ファイルを再生することが可能です。
今回は、その機能をサンプルをもとに紹介します。
サンプルコードについては最後にリンクを記載しています。
サンプルの動作
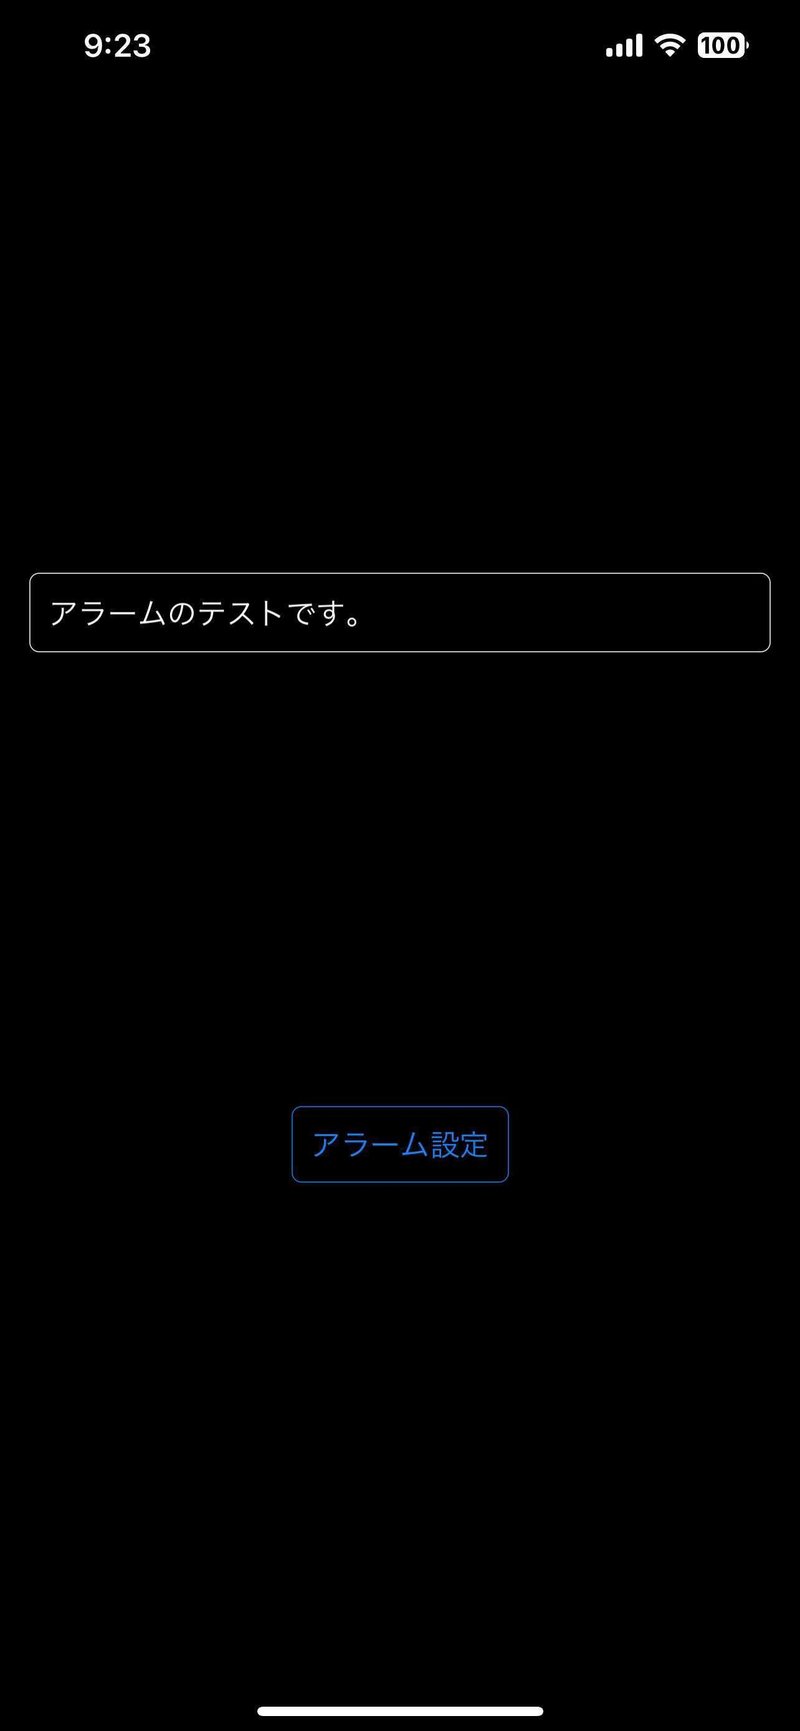
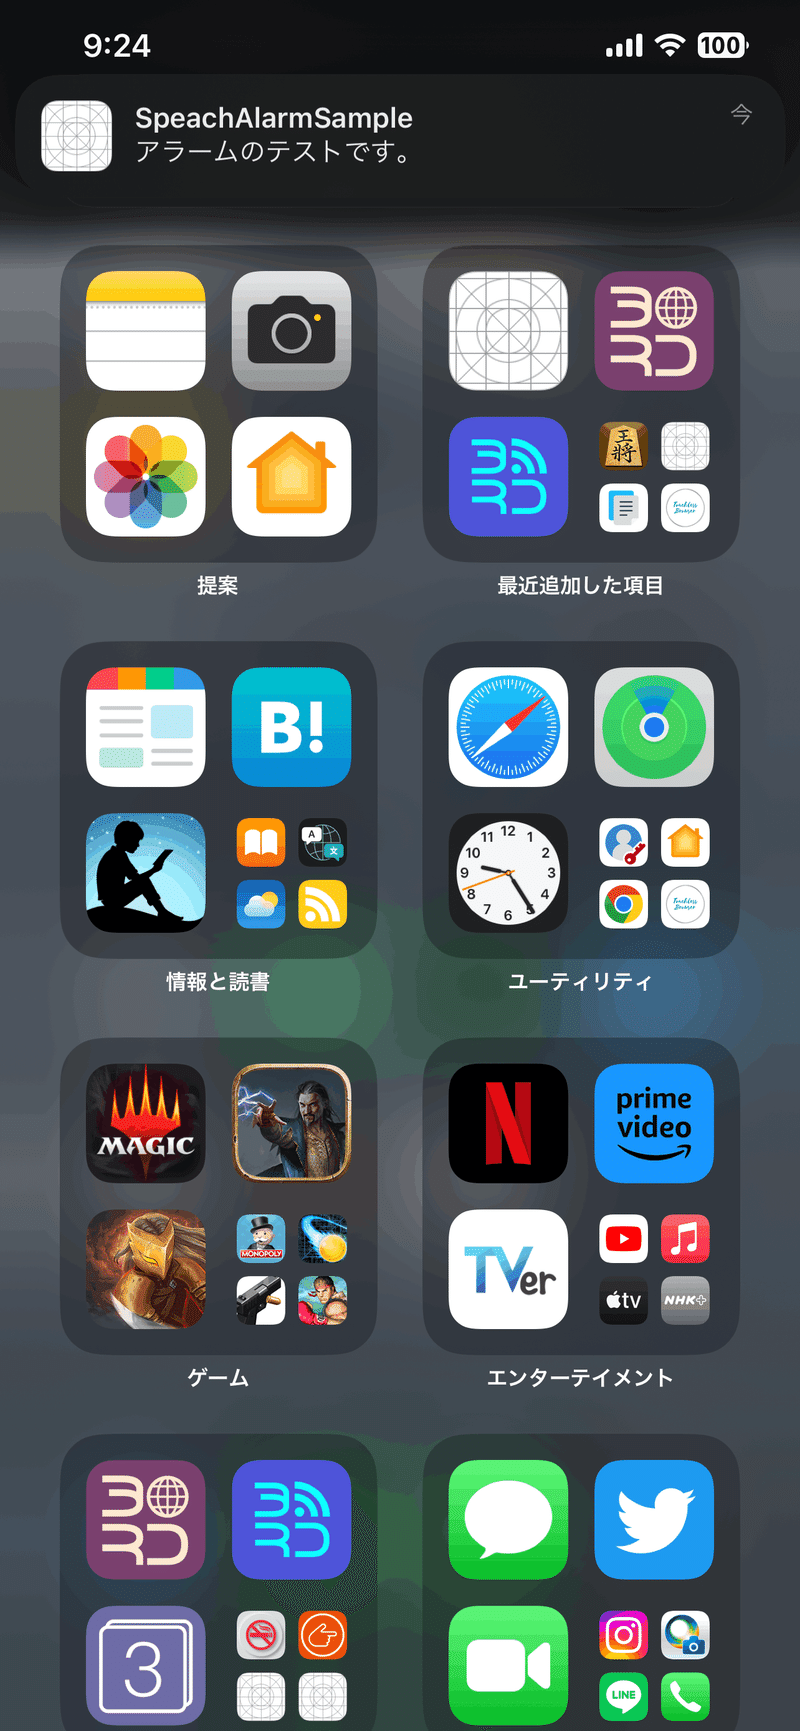
サンプルでは、任意のメッセージを入力、「アラーム設定」ボタンを押下後、アプリをバックグラウンドにする事により、5秒後にメッセージを読み上げます。(フォアグラウンド時にアラームを再生する方法は今回は割愛させていただきます)
なお、シミュレータでは音声エンジンがデフォルトでセットアップされていないため、音声の一覧が取得できません。実機でのテストをお薦めします。
通知の許可
        .onAppear(){
            // 通知許可
            viewModel.requestAuthorization()
        }
・・・
  func requestAuthorization(){
        // 通知の許可
        UNUserNotificationCenter.current().requestAuthorization(
        options: [.alert, .sound]){
            (granted, _) in
            if granted{
                // 通知が許可された
                print("granted")
            }
        }
    }
UNUserNotificationCenter.current().requestAuthorizationを実行する事により、アラーム等の通知の許可をユーザーに求めます。
音源ファイルの作成
  /// 文言をファイルにLibrary/Soundsに保存
    /// - Parameters:
    ///   - text: 読上げ文言
    ///   - fileName: ファイル名
    ///   - extension: 拡張し
    func save(text:String , fileName:String)->String{
        let ext = "caf"

        // Library/Sounds URLの取得
        let libraryUrl = FileManager.default.urls(for: .libraryDirectory, in: .userDomainMask)[0]
        print("libraryUrl:" + libraryUrl.path)
        var fileUrl = libraryUrl.appendingPathComponent("Sounds")
        // ディレクトリの作成
        if !FileManager.default.fileExists(atPath: fileUrl.absoluteString) {
            do {
                try FileManager.default.createDirectory(at: fileUrl, withIntermediateDirectories: true, attributes: nil)
            } catch {
                print(error.localizedDescription)
                return ""
            }
        }
        // ファイル名の生成
        fileUrl.appendPathComponent(fileName)
        fileUrl.appendPathExtension(ext)

        print("fileUrl:" + fileUrl.path)

        // 読上げ文言の保存
        try? save(text:text , fileURL:fileUrl)

        return fileName + "." + ext
    }

    /// ファイル保存
    /// - Parameters:
    ///   - text: 読上げテキスト
    ///   - fileURL: 保存先URL
    func save(text:String, fileURL: URL) throws {
        var output: AVAudioFile?
        let utterance = AVSpeechUtterance.init(string: text)

        // 既存ファイルの削除
        try? FileManager.default.removeItem(at: fileURL)

        synthesizer.write(utterance) { buffer in
            guard let pcmBuffer = buffer as? AVAudioPCMBuffer else {
                return
            }
            if pcmBuffer.frameLength == 0 {
                // no length
                print("No length")
            }else{
                if output == nil {
                    output = try! AVAudioFile(forWriting: fileURL, settings: pcmBuffer.format.settings, commonFormat: .pcmFormatInt16, interleaved: false)
                }
                try! output!.write(from: pcmBuffer)
            }

        }
    }
前半のsaveメソッドでアプリケーション割り当てられたライブラリフォルダ(FileManager.default.urls(for: .libraryDirectory, in: .userDomainMask)[0])配下にSoundsフォルダを生成し、そのフォルダに音源ファイルを生成します。
let utterance = AVSpeechUtterance.init(string: text)
・・・
synthesizer.write(utterance) { buffer in
・・・
output = try! AVAudioFile(forWriting: fileURL, settings: pcmBuffer.format.settings, commonFormat: .pcmFormatInt16, interleaved: false)
・・・
音源ファイルは、synthesizer.write(utterance)で生成されます。生成された音声データは一時領域であるバッファ(buffer)に書き出され、AVAudioFile(forWriting: fileURL,〜でbufferよりファイルに書き出されます。
utteranceに設定できるパラメータは下記の記事を参照してください。
アラーム設定
 /// 時限式通知トリガー
    /// - Parameters:
    ///   - date: 通知時間
    ///   - identifier: 通知identifier
    ///   - sound: 通知サウンド
    ///   - message: 通知メッセージ
    func timeMotification(date :Date , identifier :String , sound:String , message : String){
        /// アプリケーション名
        let appName = "SpeachAlarmSample"

        // Contentの作成
        let dateComps = date.getComponents()
        let trigger = UNCalendarNotificationTrigger.init(dateMatching: dateComps, repeats: false)
        let content = UNMutableNotificationContent()
        let notificationSound = UNNotificationSoundName(rawValue: sound)

        // コンテントの作成
        content.title = appName
        content.body = message
        content.sound = UNNotificationSound(named: notificationSound)
        content.categoryIdentifier = appName

        // リクエストの作成
        let request = UNNotificationRequest(identifier: identifier,
                                            content: content,
                                            trigger: trigger)

        UNUserNotificationCenter.current().add(request, withCompletionHandler: nil)
    }
アラームの内容となるコンテント、UNMutableNotificationContentを設定します。その際、上記で作成した音源ファイルを絶対パスで指定します。
アラームの内容となるコンテント、アラームの発生タイミングを設定したトリガー(UNCalendarNotificationTrigger)をもとに通知要求(UNNotificationRequest)を生成、設定する事により、アラームの設定が行われます。
コードサンプル
今回紹介したサンプルの全コードです
アプリケーション
今回紹介した音声読上げ機能を利用したiOSアプリです。
今回も最後までお読みいただき有り難うございました!
それでは、楽しいSwiftライフを!
───-- - - -
フォロー Me!
↓ ↓
Twitter : @RandR_inc
◆───-- - - -
ラフアンドレディでの採用はこちら ↓ ↓ ↓
ラフアンドレディでは、みんなのびのびと仕事をしています!エンジニアが長く幸せに活躍できる環境で、仲間と楽しく働いてみませんか?
この記事が気に入ったらサポートをしてみませんか?